In this article I discuss what to do when your Hot Water Heater starts to leak. In my case, I have a Bradford White tank installed. My installation uses the hot water tank to heat the house water as well as heat the basement radiant flooring. It came with a warranty of 6 years on parts and a 10 year warranty for the tank. The tank was installed when I built the house 12 years earlier. So both the parts and tank are no longer covered by the manufacturers warranty.
Bradford White Hot Water Heater
My home hot water heater unit is approximately 12 years old at the time of the leak.

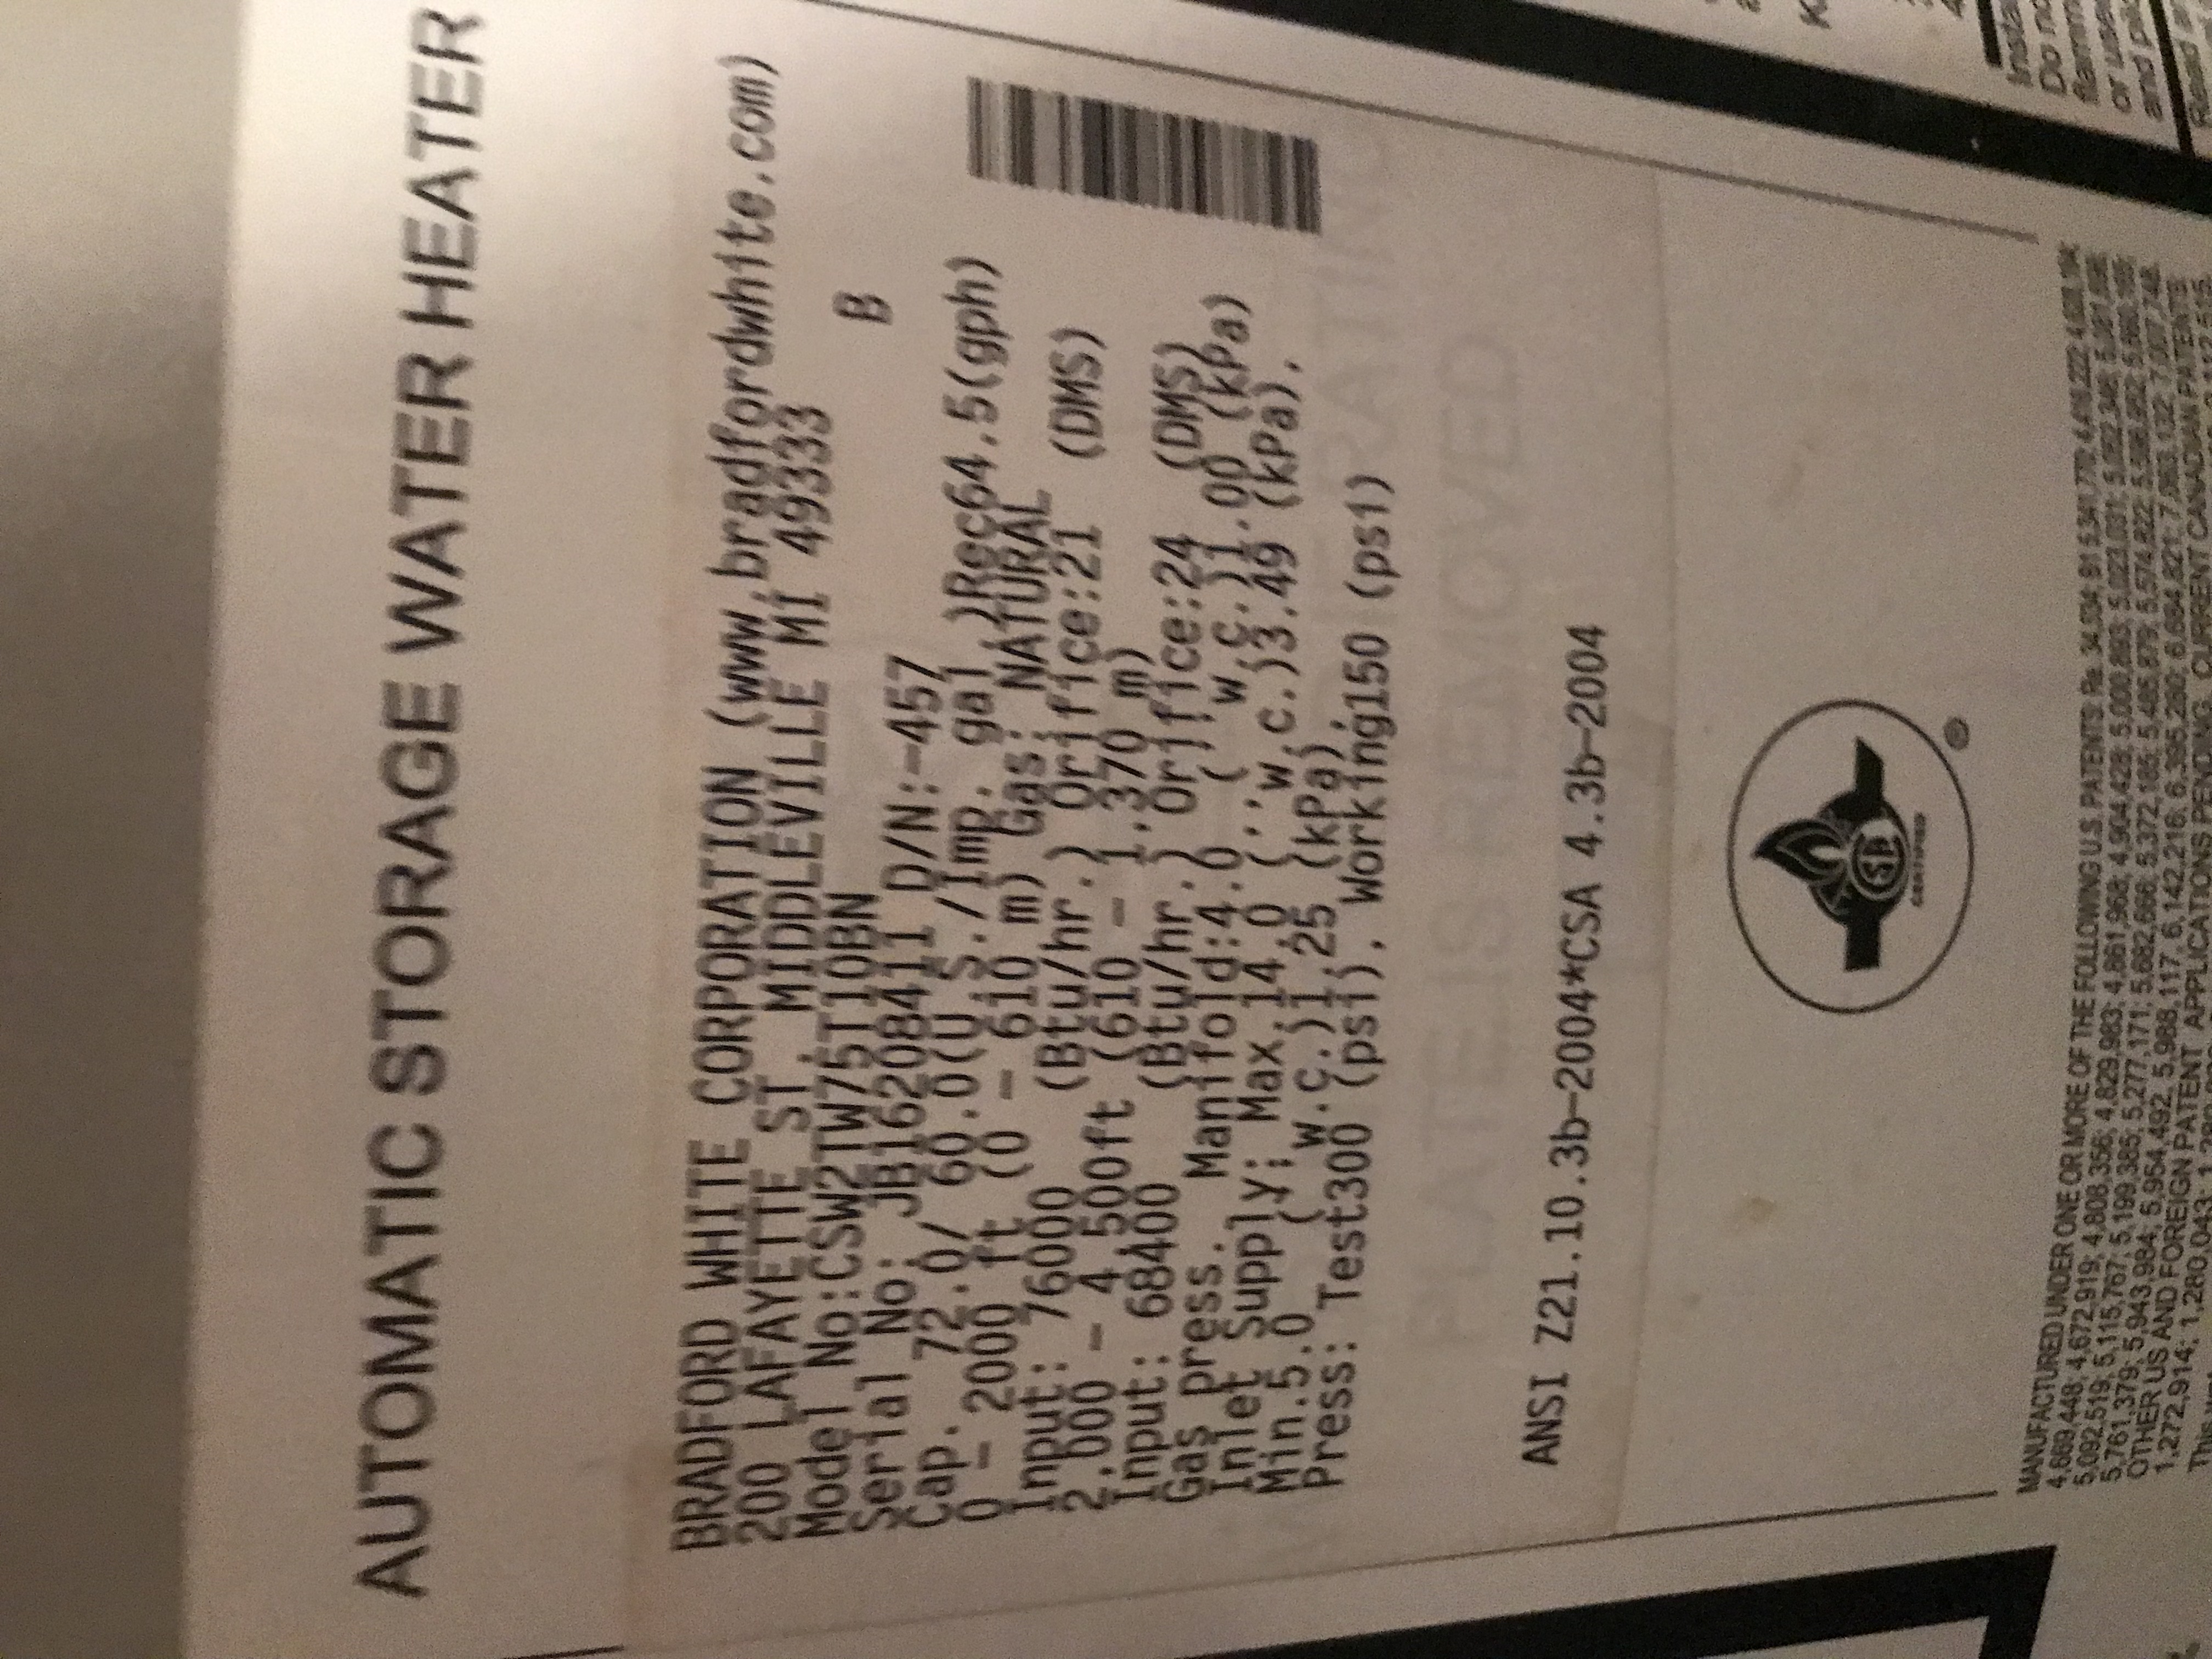
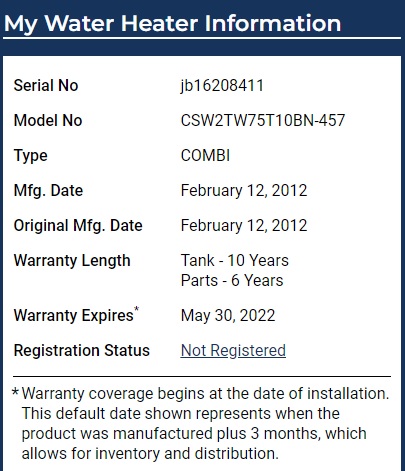
- Model: CSW2TW75T10BN
- Serial: JB16208411
Issue
Recently my hot water heater started to leak. I suspect that it is the early warning of a complete failure of the tank so it is time to investigate whether it is worth repairing or whether I should be getting a replacement. In my case my hot water heater is a Bradford White - Power Vent Gas unit that also acts as the heater for my basement radiant flooring.
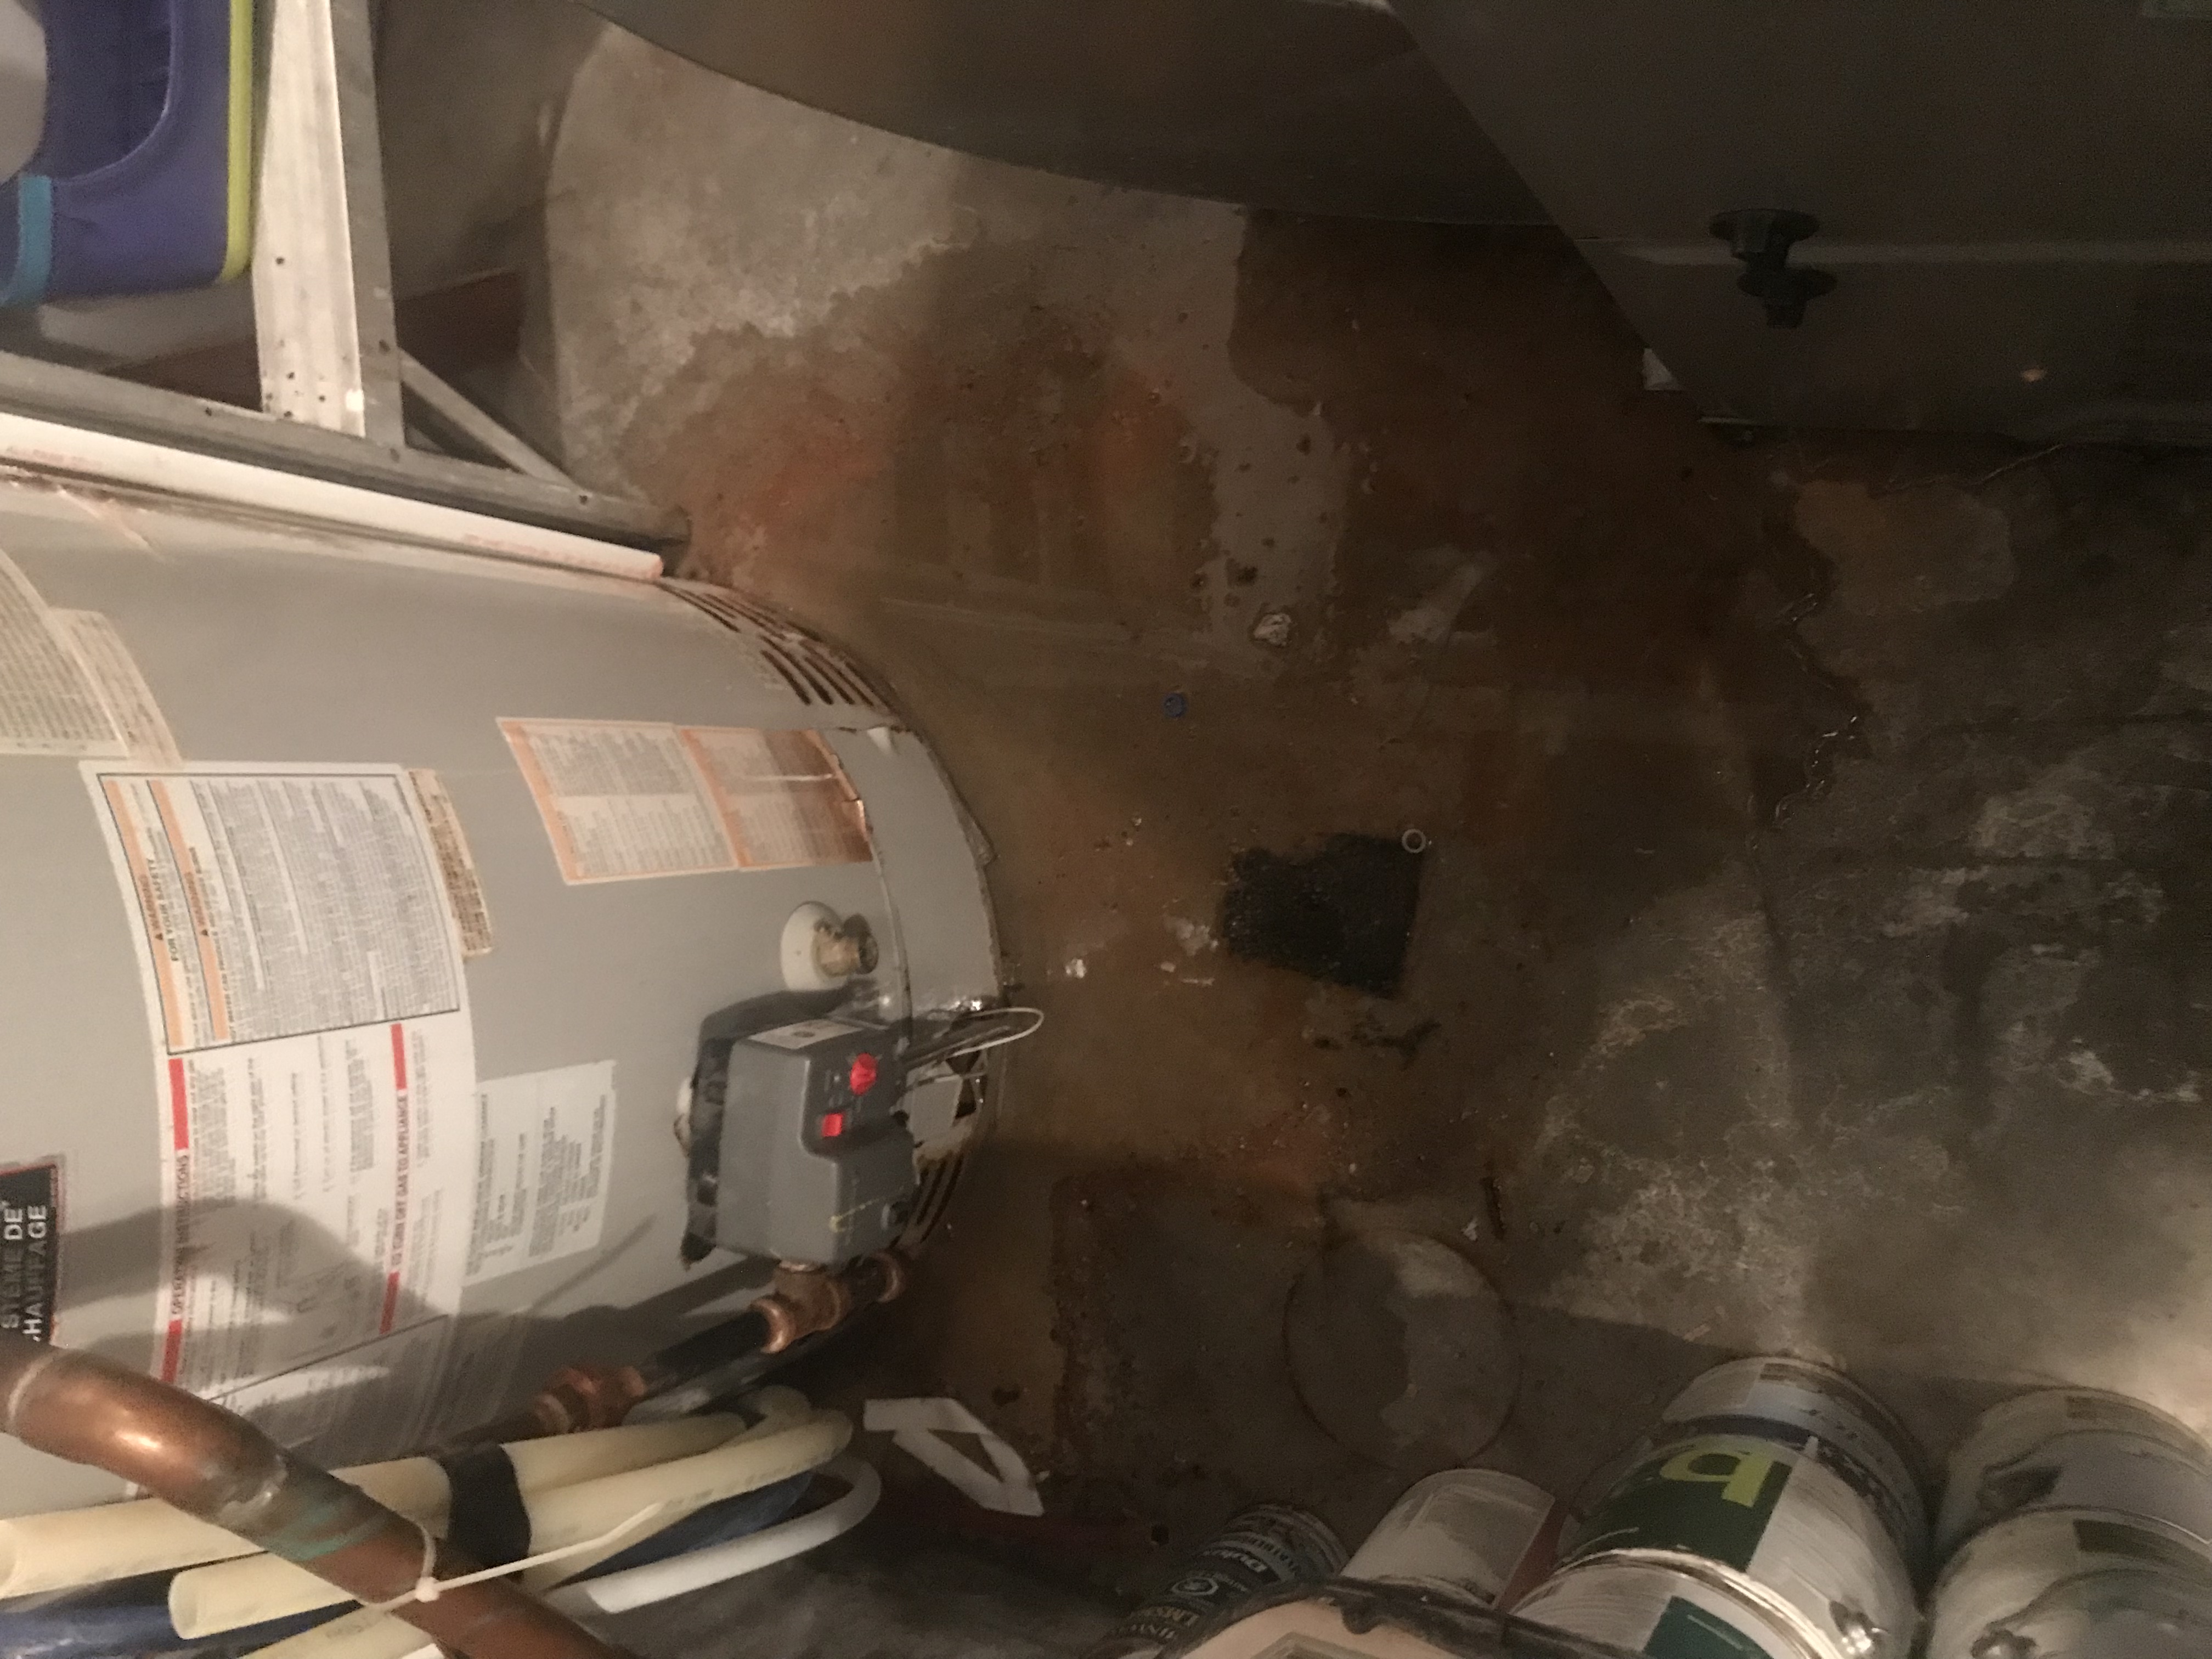
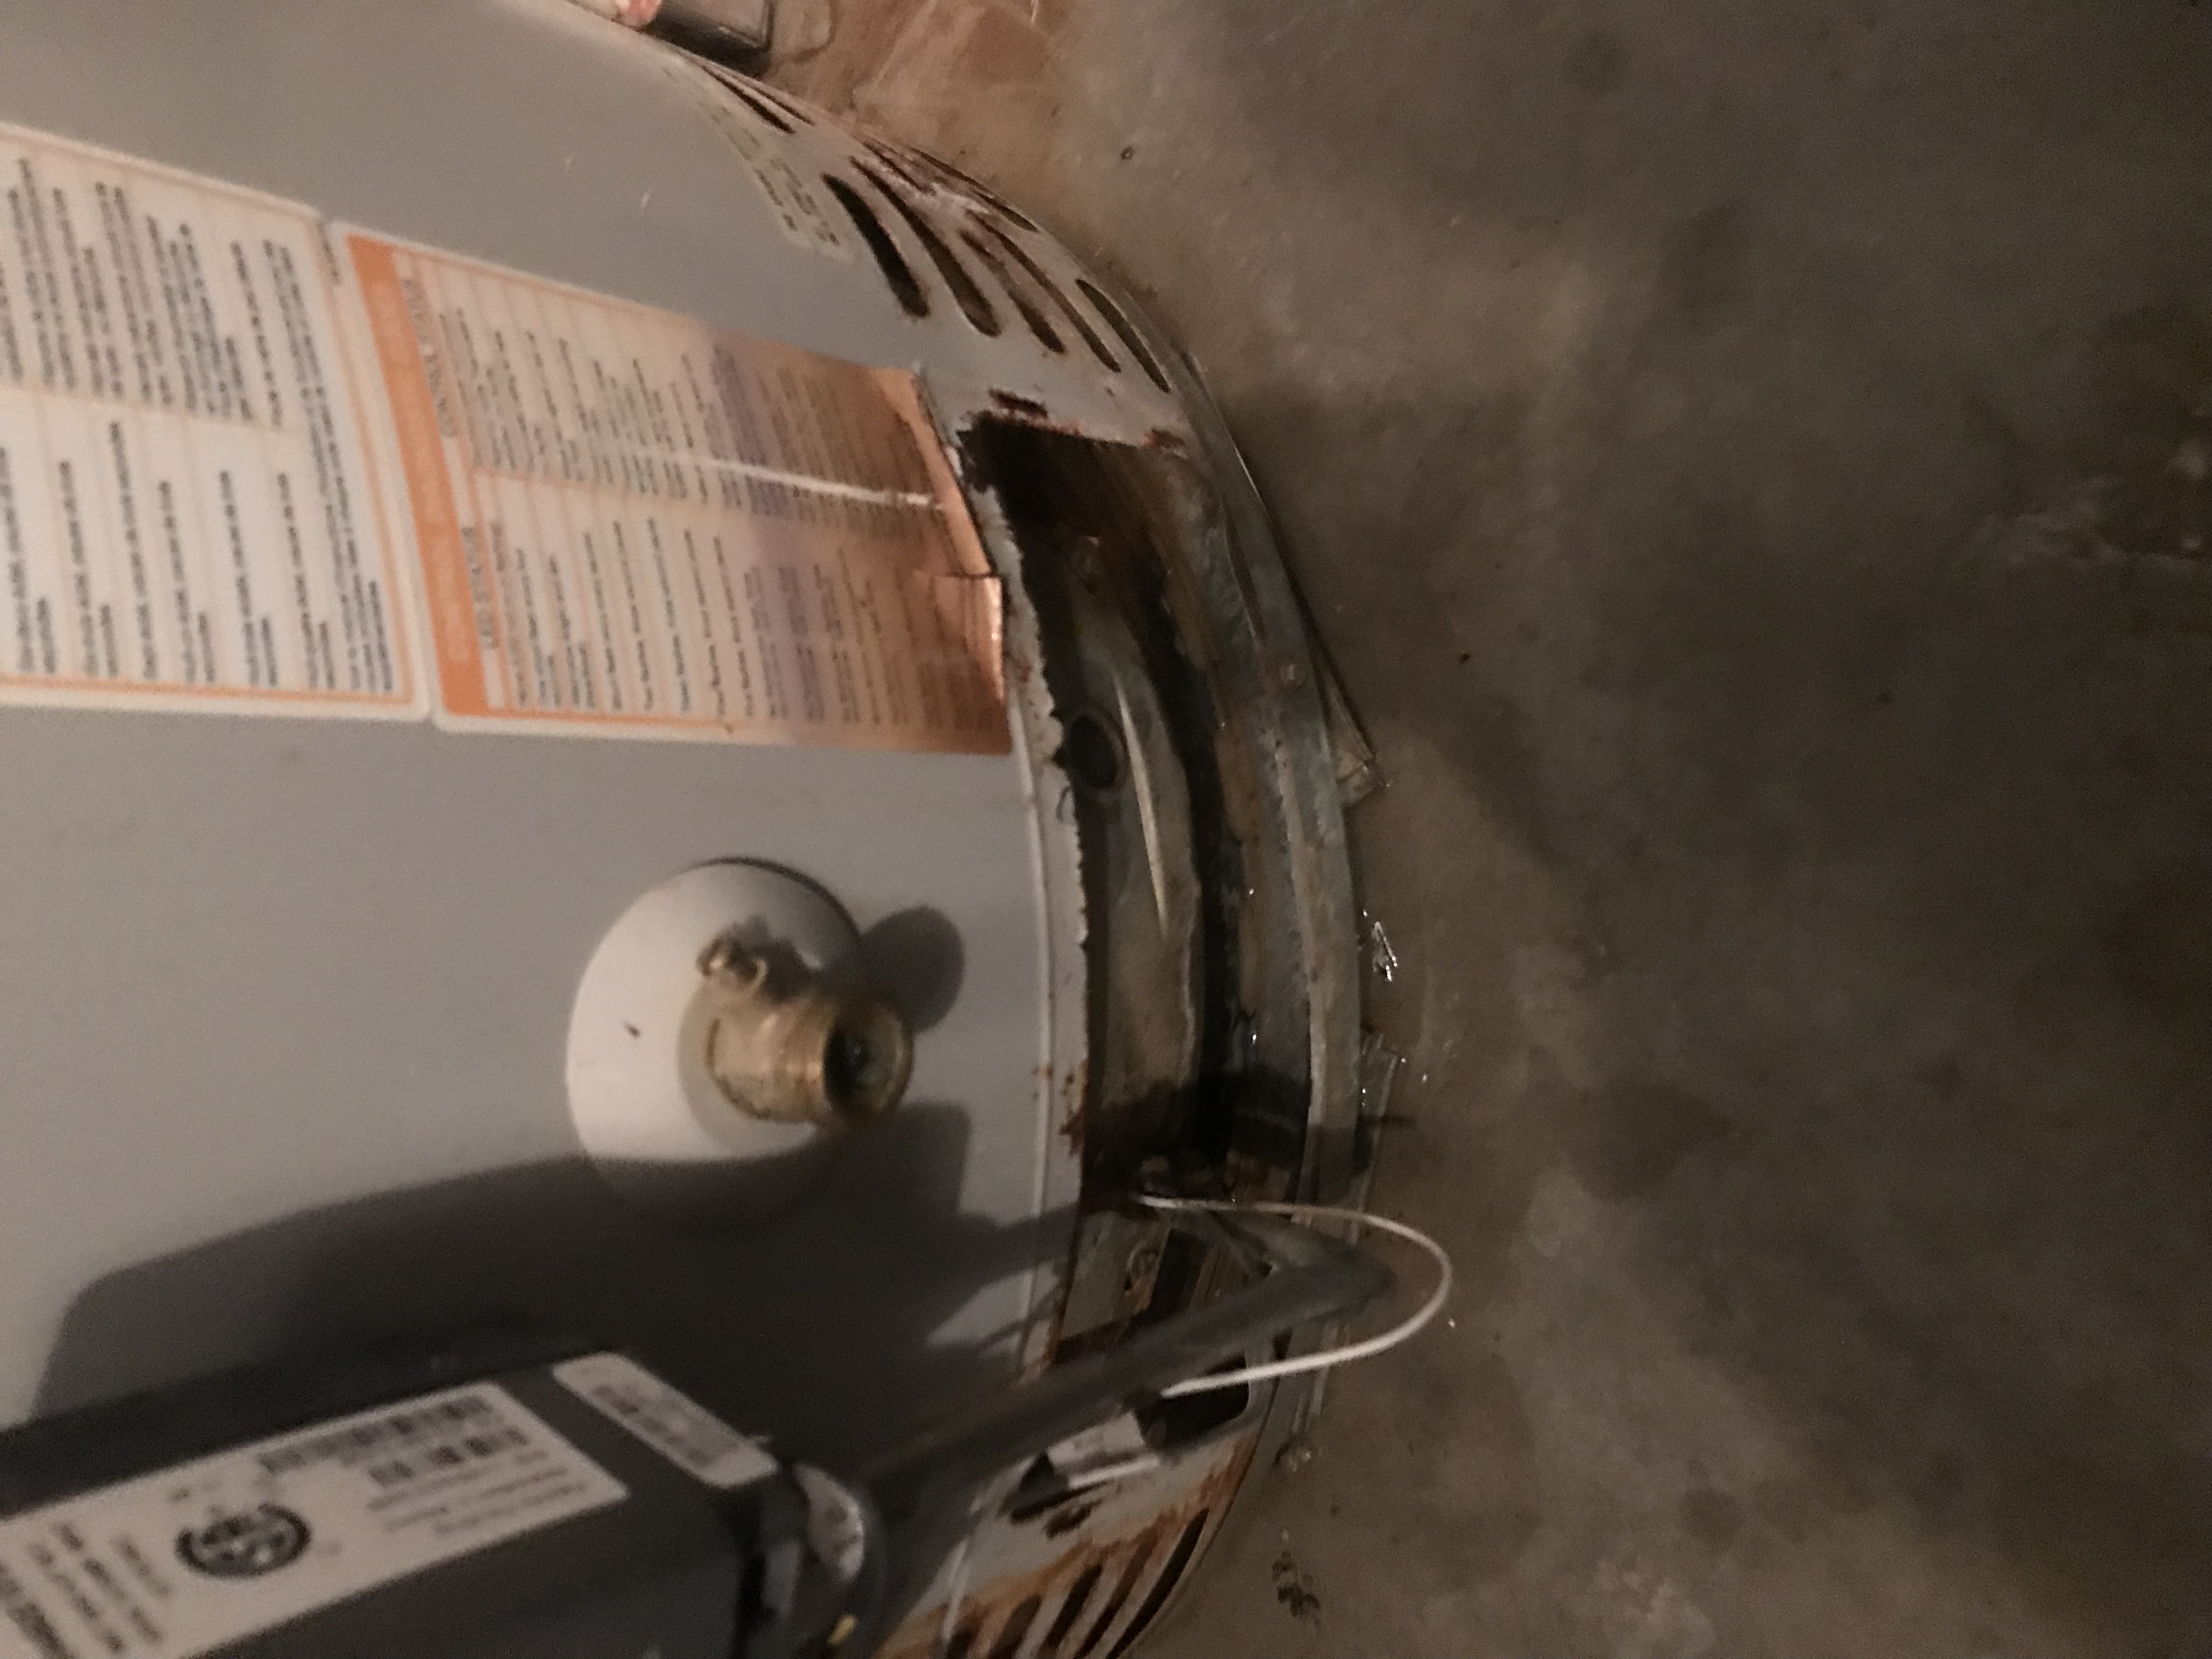
You can see the water now leaking onto the ground. When I open the access port to the lower burner - I can see that there is water collecting under the tank. I used a wet vac to suck up the water and attempted to turn off the radiant floor loop to see if I could stop the leak. I dried up the tank and attempted to blow out / dry under the tank. However, ultimately I was unsuccessful as the leak continued.
Bradford White 6-1 Code
While investigating and cleaning up the water, the Honeywell gas controller started throwing a 6 - 1 code. The controller blinks once - then follows with 6 blinks.
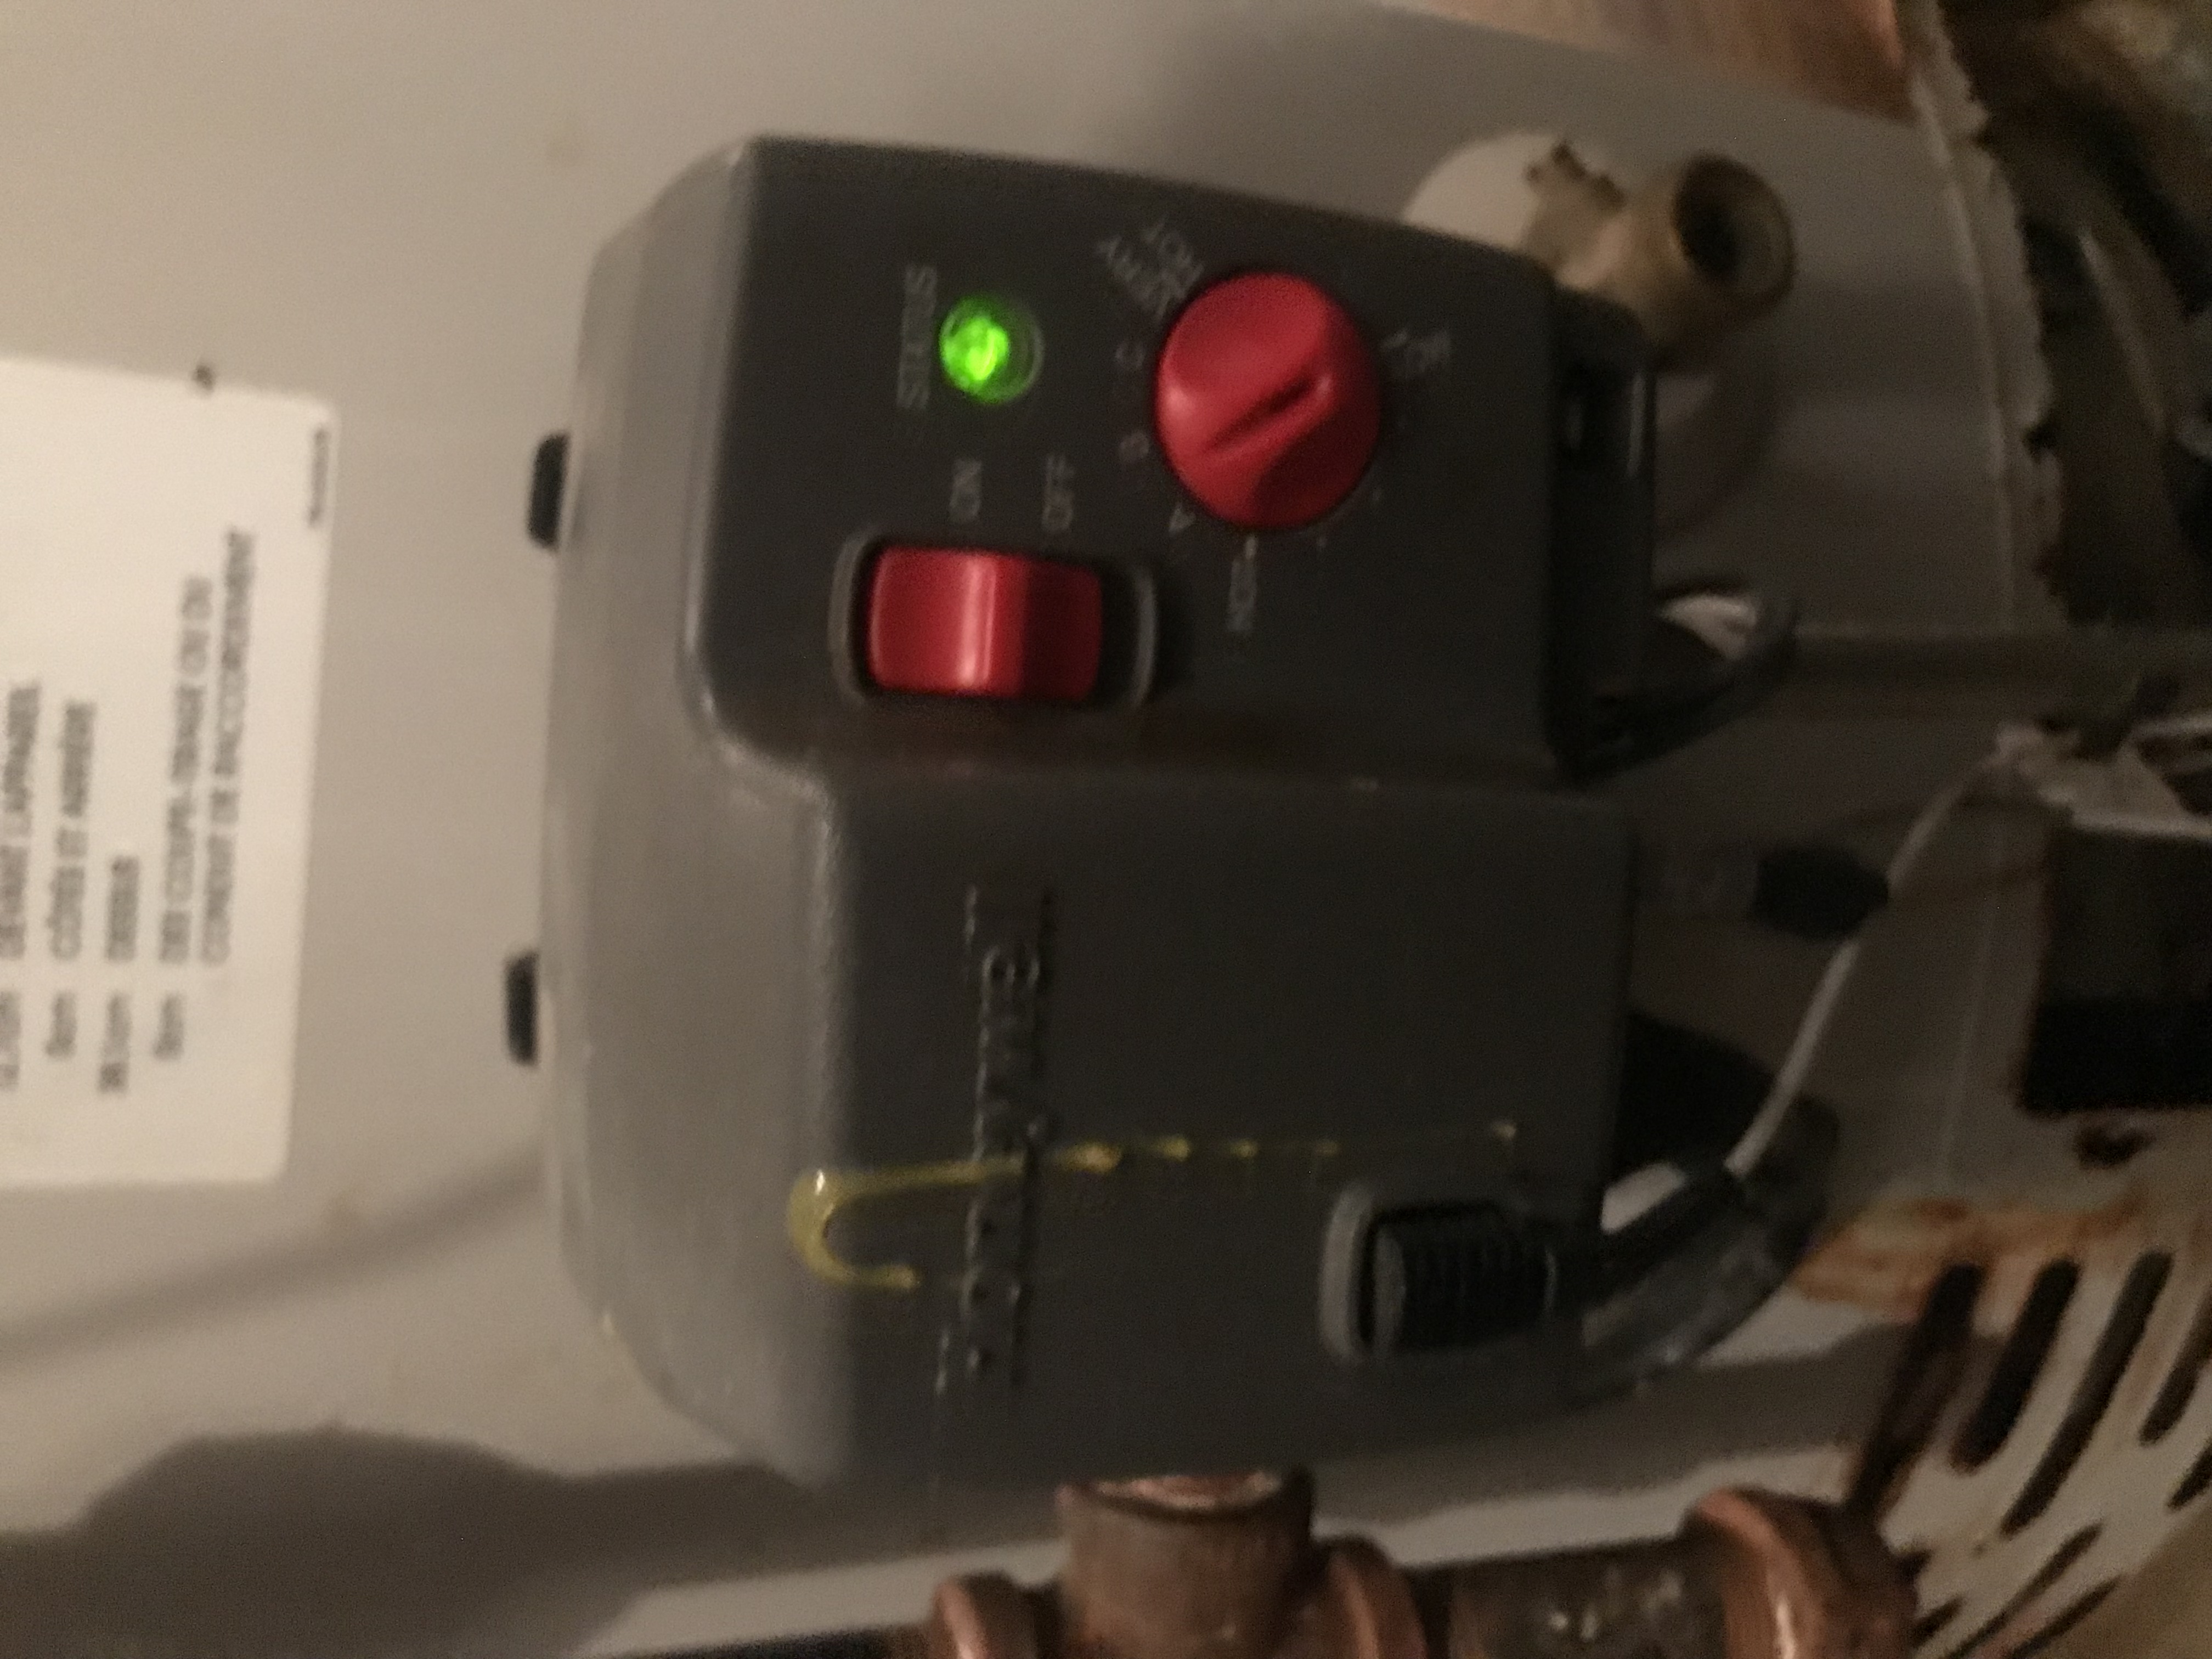
The 6-1 code means that the breather vent at the bottom of the tank is blocked and/or is detecting water. The controller will not be able to reliably light the pilot for the heating element and therefore the tank no longer is heating the water. In my case the leak (presence of excess water) is most likely the cause for the error
So What Are My Options?
In working with technical support at Bradford White, they said that I basically have two options:
- Take the tank apart and see if the leak is due to a bad solder joint. Pressure test the tank to ensure that there is no leaks with the tank. Fix the leak - start back up. However, there is no guarantee how much longer my tank will function. So I may be back subject to another leak or fault in the future.
- Replace the entire tank assembly (new tank, blower and gas controller). This will give me a new 6/10 year warranty on parts/tank.
Replacement Tanks?
Working with technical support, they confirmed that the same model number tank still exists and that it would be a like for like swap if required. This is critical for me as I don’t have a lot of excess space for the tank to fit in.
While the technical staff cannot confirm how long the tank should typically last, the did say that since I did not regularly flush the tank that it is likely time to consider replacing the entire tank (understanding that they are not trying to sell me a new tank). That way I would be covered by a new warranty on parts and the tank.
Conclusion
Taking in all the potential pros and cons, I have decided to source a like for like tank replacement.... Model: CSW2TW75T10BN
Next Day Delivery
Special thanks to my buddy Johnny V. - he placed the order at around 3pm with a local supplier (Desco) and the water heater will be delivered the next morning between 8-9 am !!
Preparation for Water Heater Replacement
The furnace room is very tight and in order to get the old Water Heater tank out and replace it with a new one, some cleanup and modifications will be required.
With all the "junk" removed, there remains an issue that I have a Slop Sink in the corner of the room that restricts - or blocks entry/exit to the Furnace room. I obviously installed this sink after I had the hot water tank installed when I built the house.
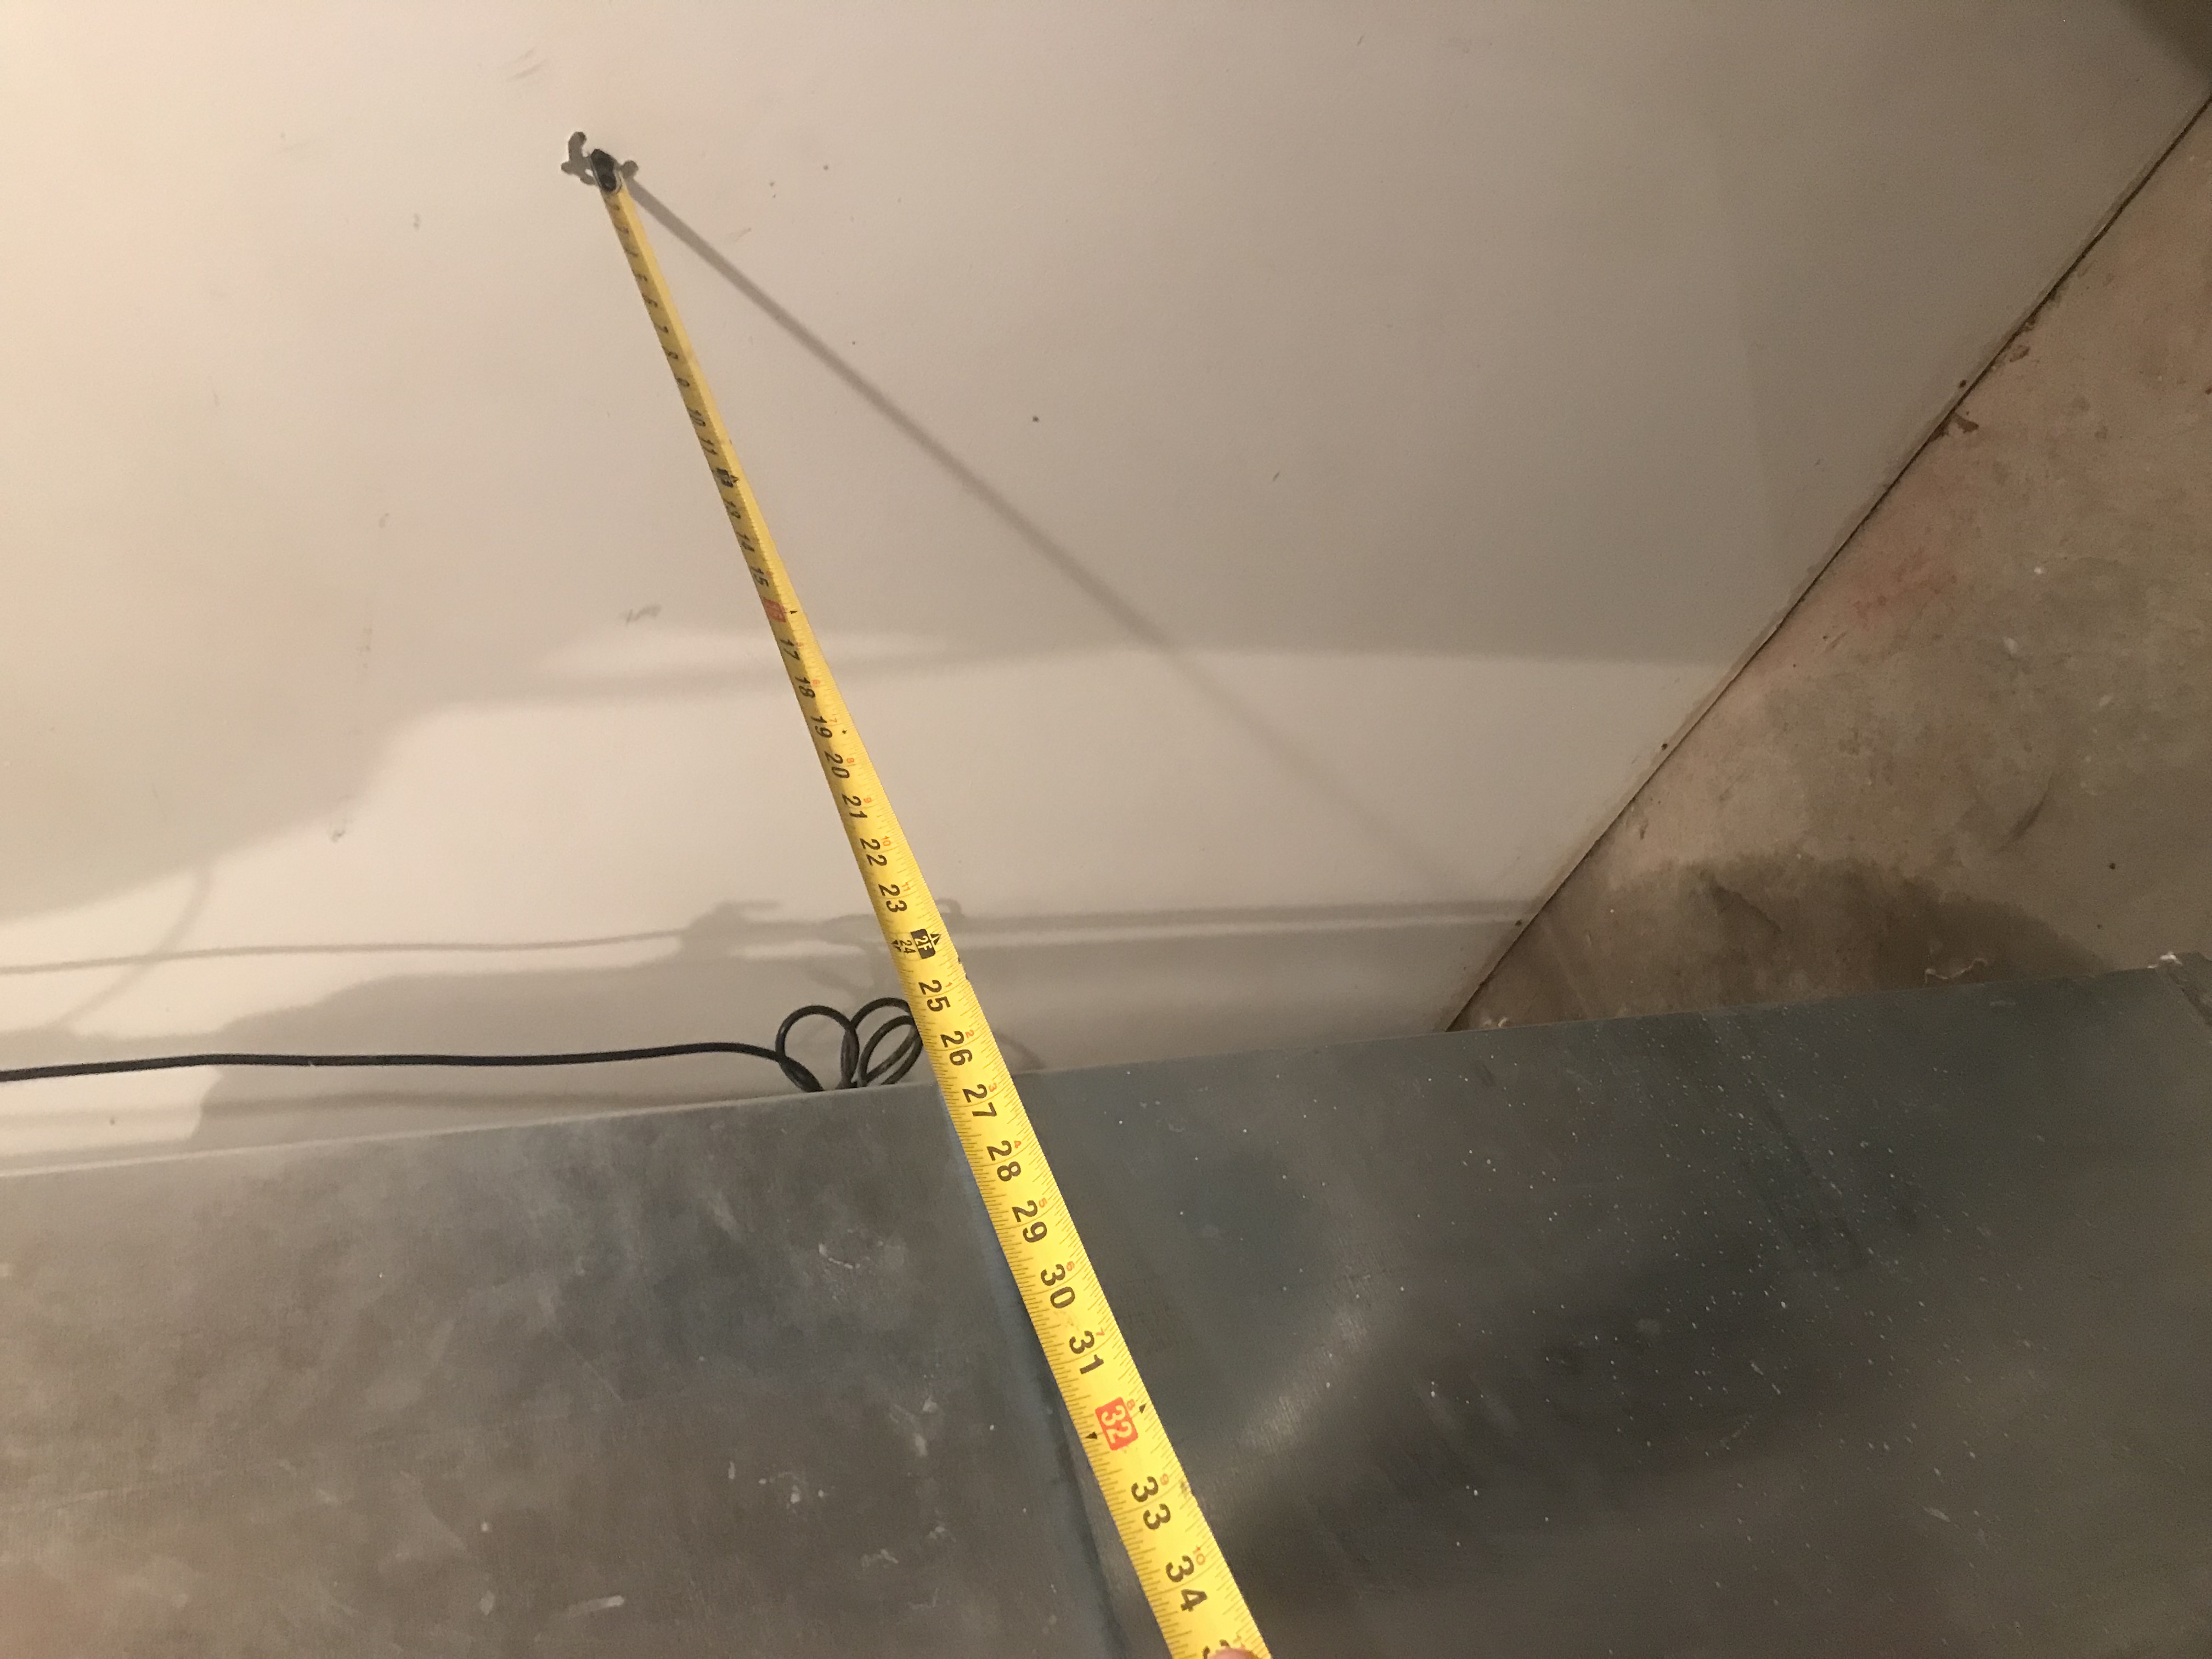
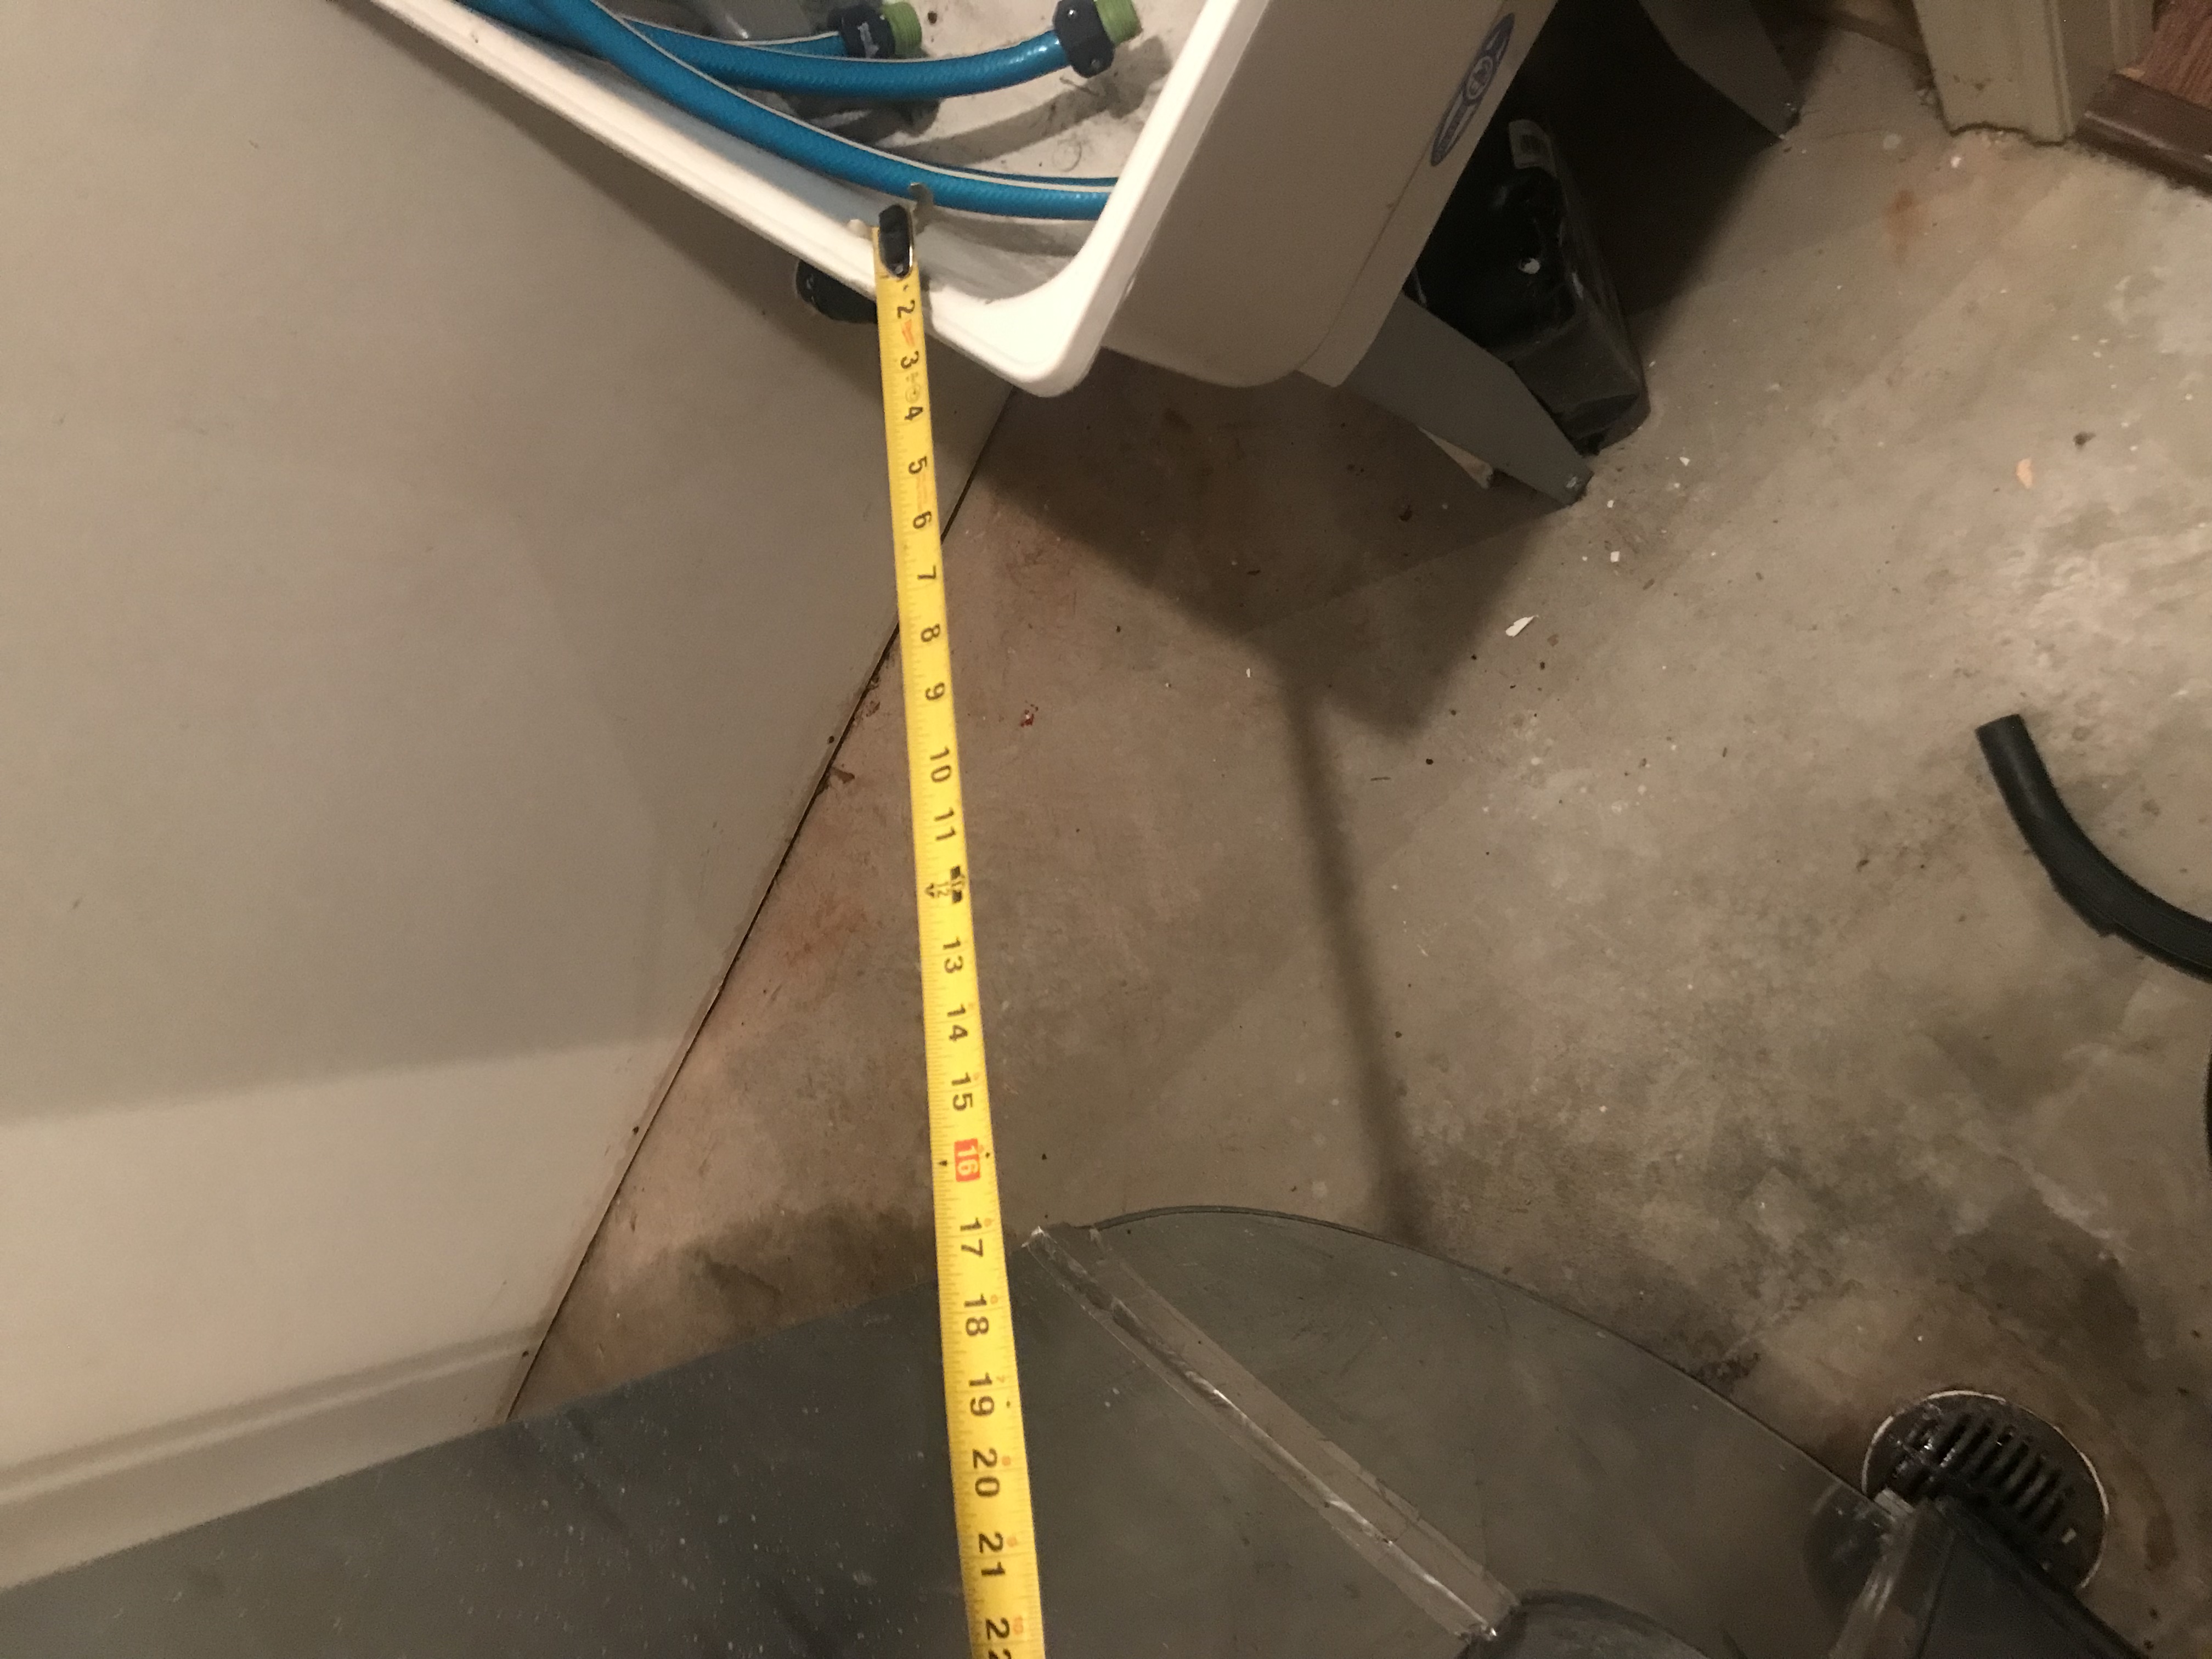
The water heater is 26" in diameter and the clearance between the furnace and the wall is 26 1/2". But the distance between the corner of the Slop Sink and the furnace is less than 17". There is no clearance to get the tank out, so the Slop Sink has to go...
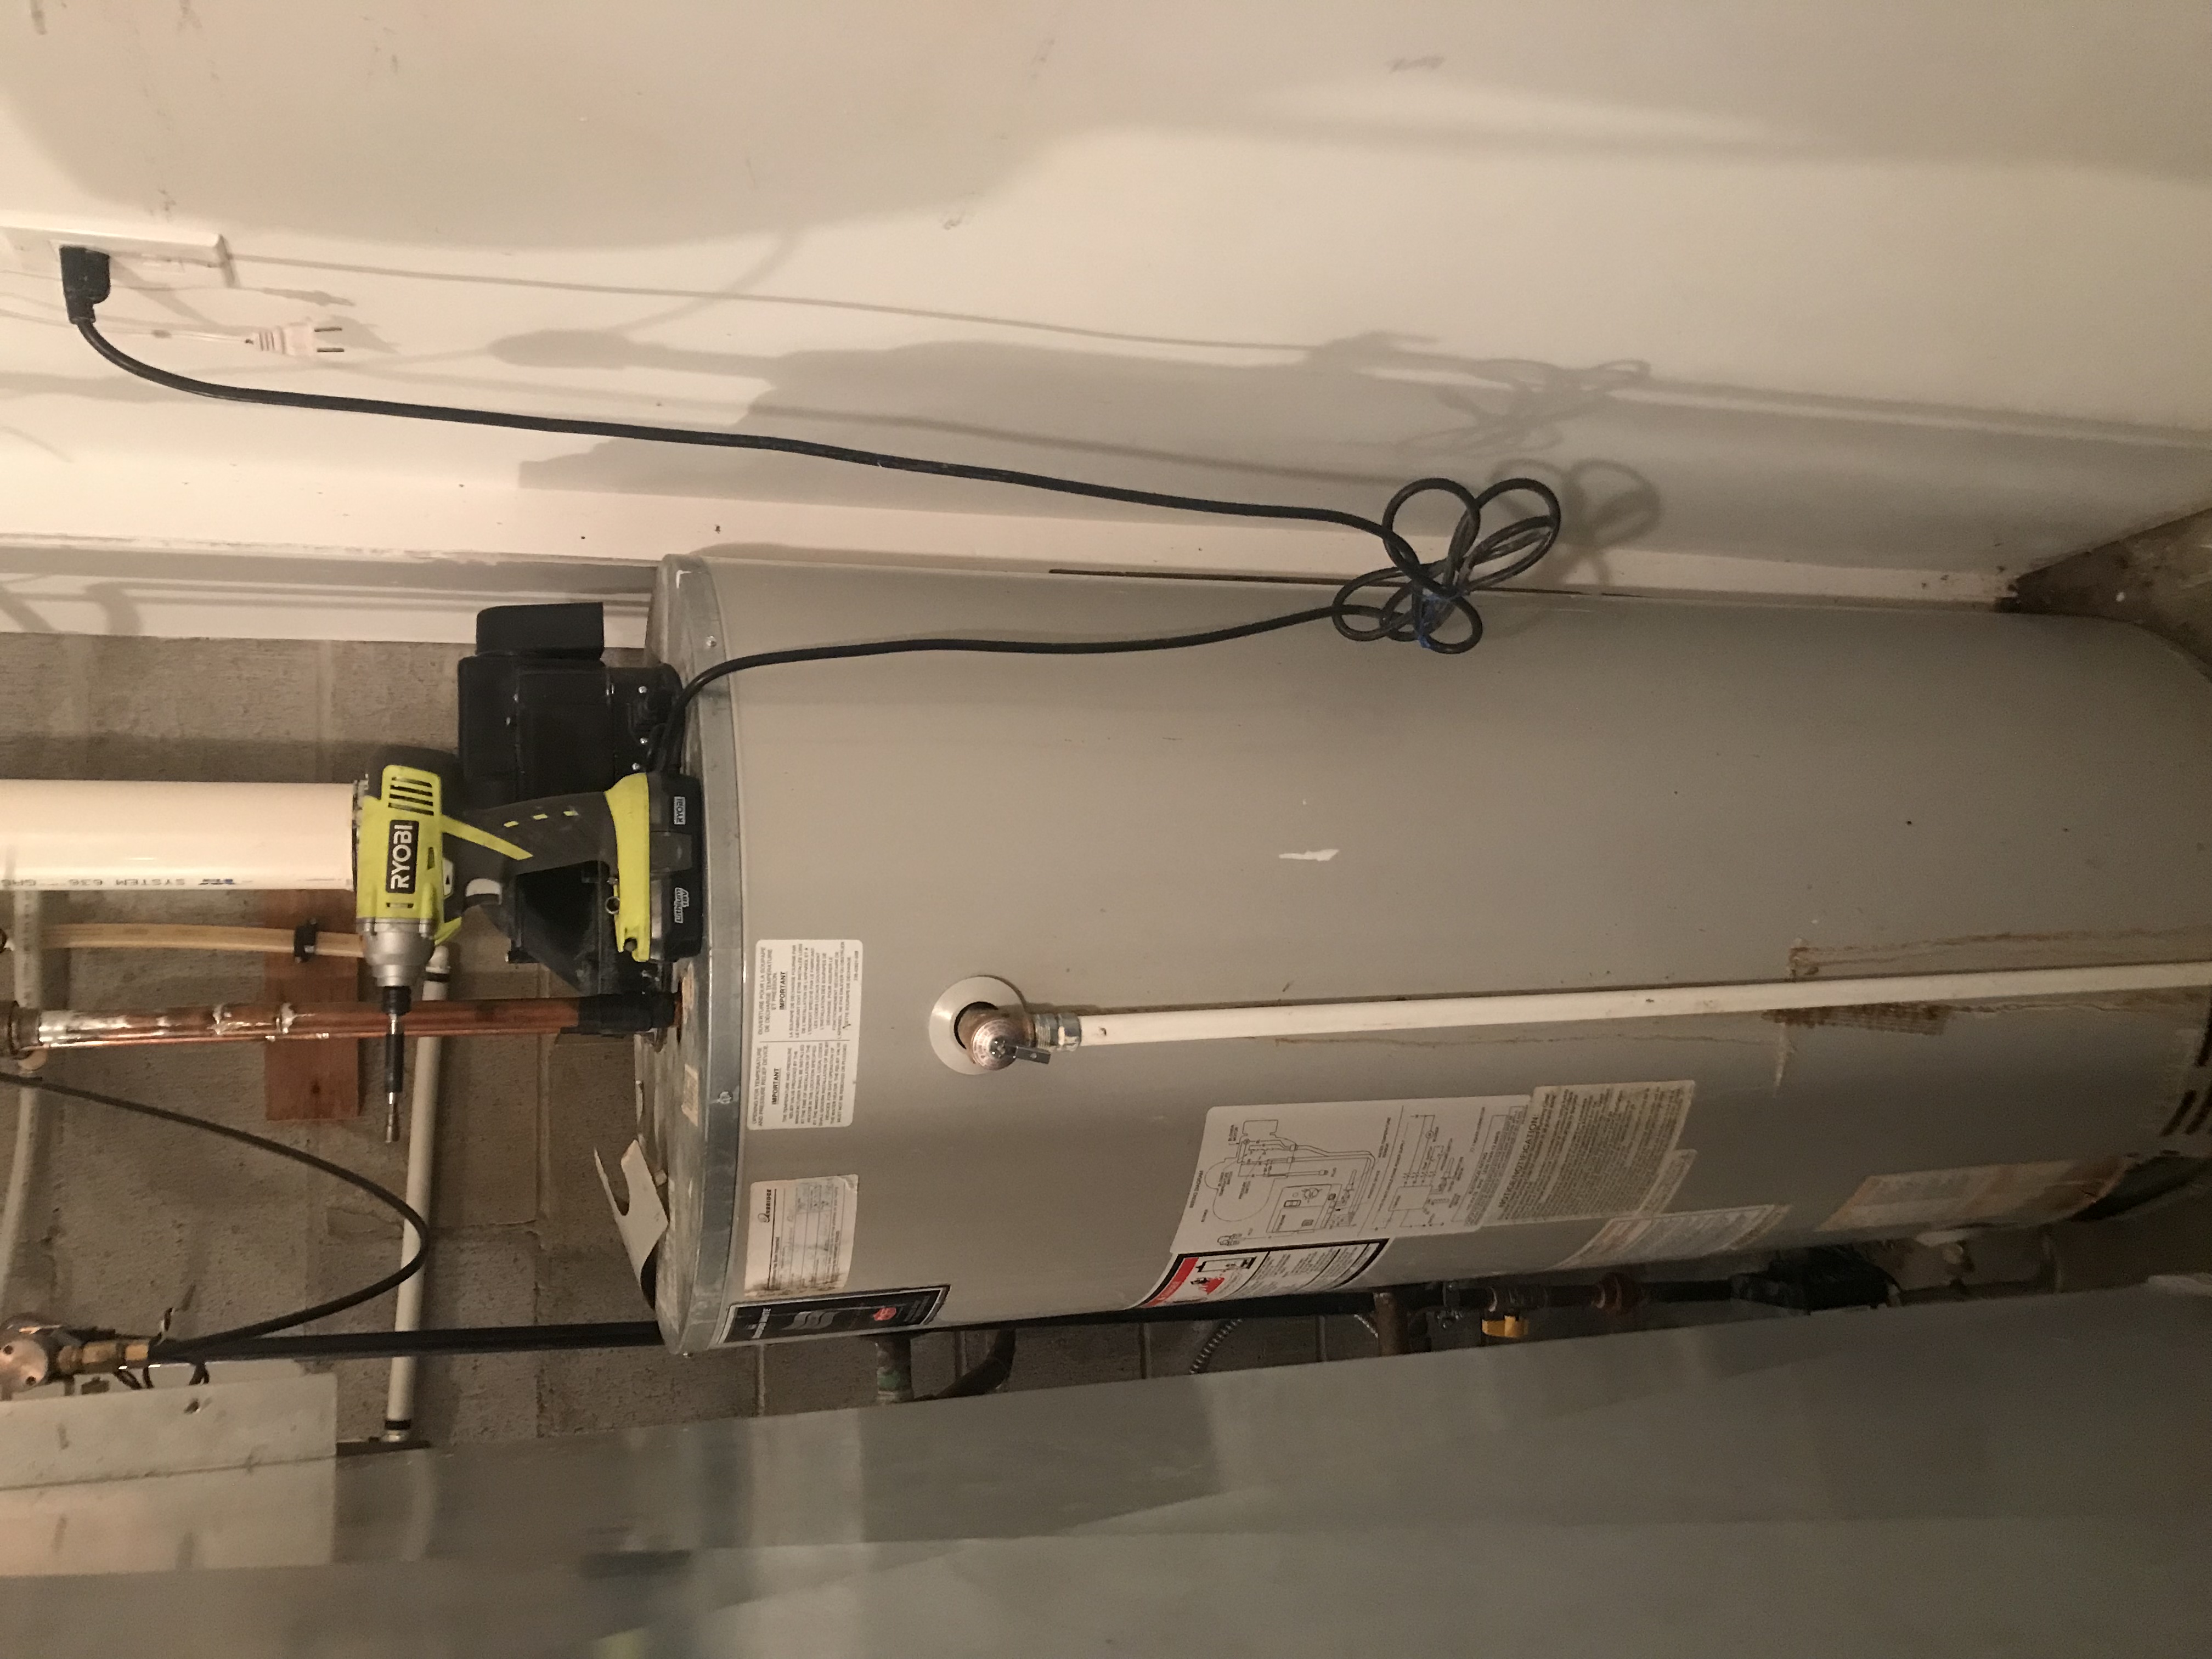
Here is the Water Heater (26" in diameter) tucked in the corner behind the Furnace:
Here is the clearance between the Furnace and the wall - 26 1/2":
Here is the clearance between the Furnace and the Slop Sink (about 15-17"). The Slop Sink has to go!
And with the Slop Sink removed and drain pushed aside, I now have more than 26" of clearance:
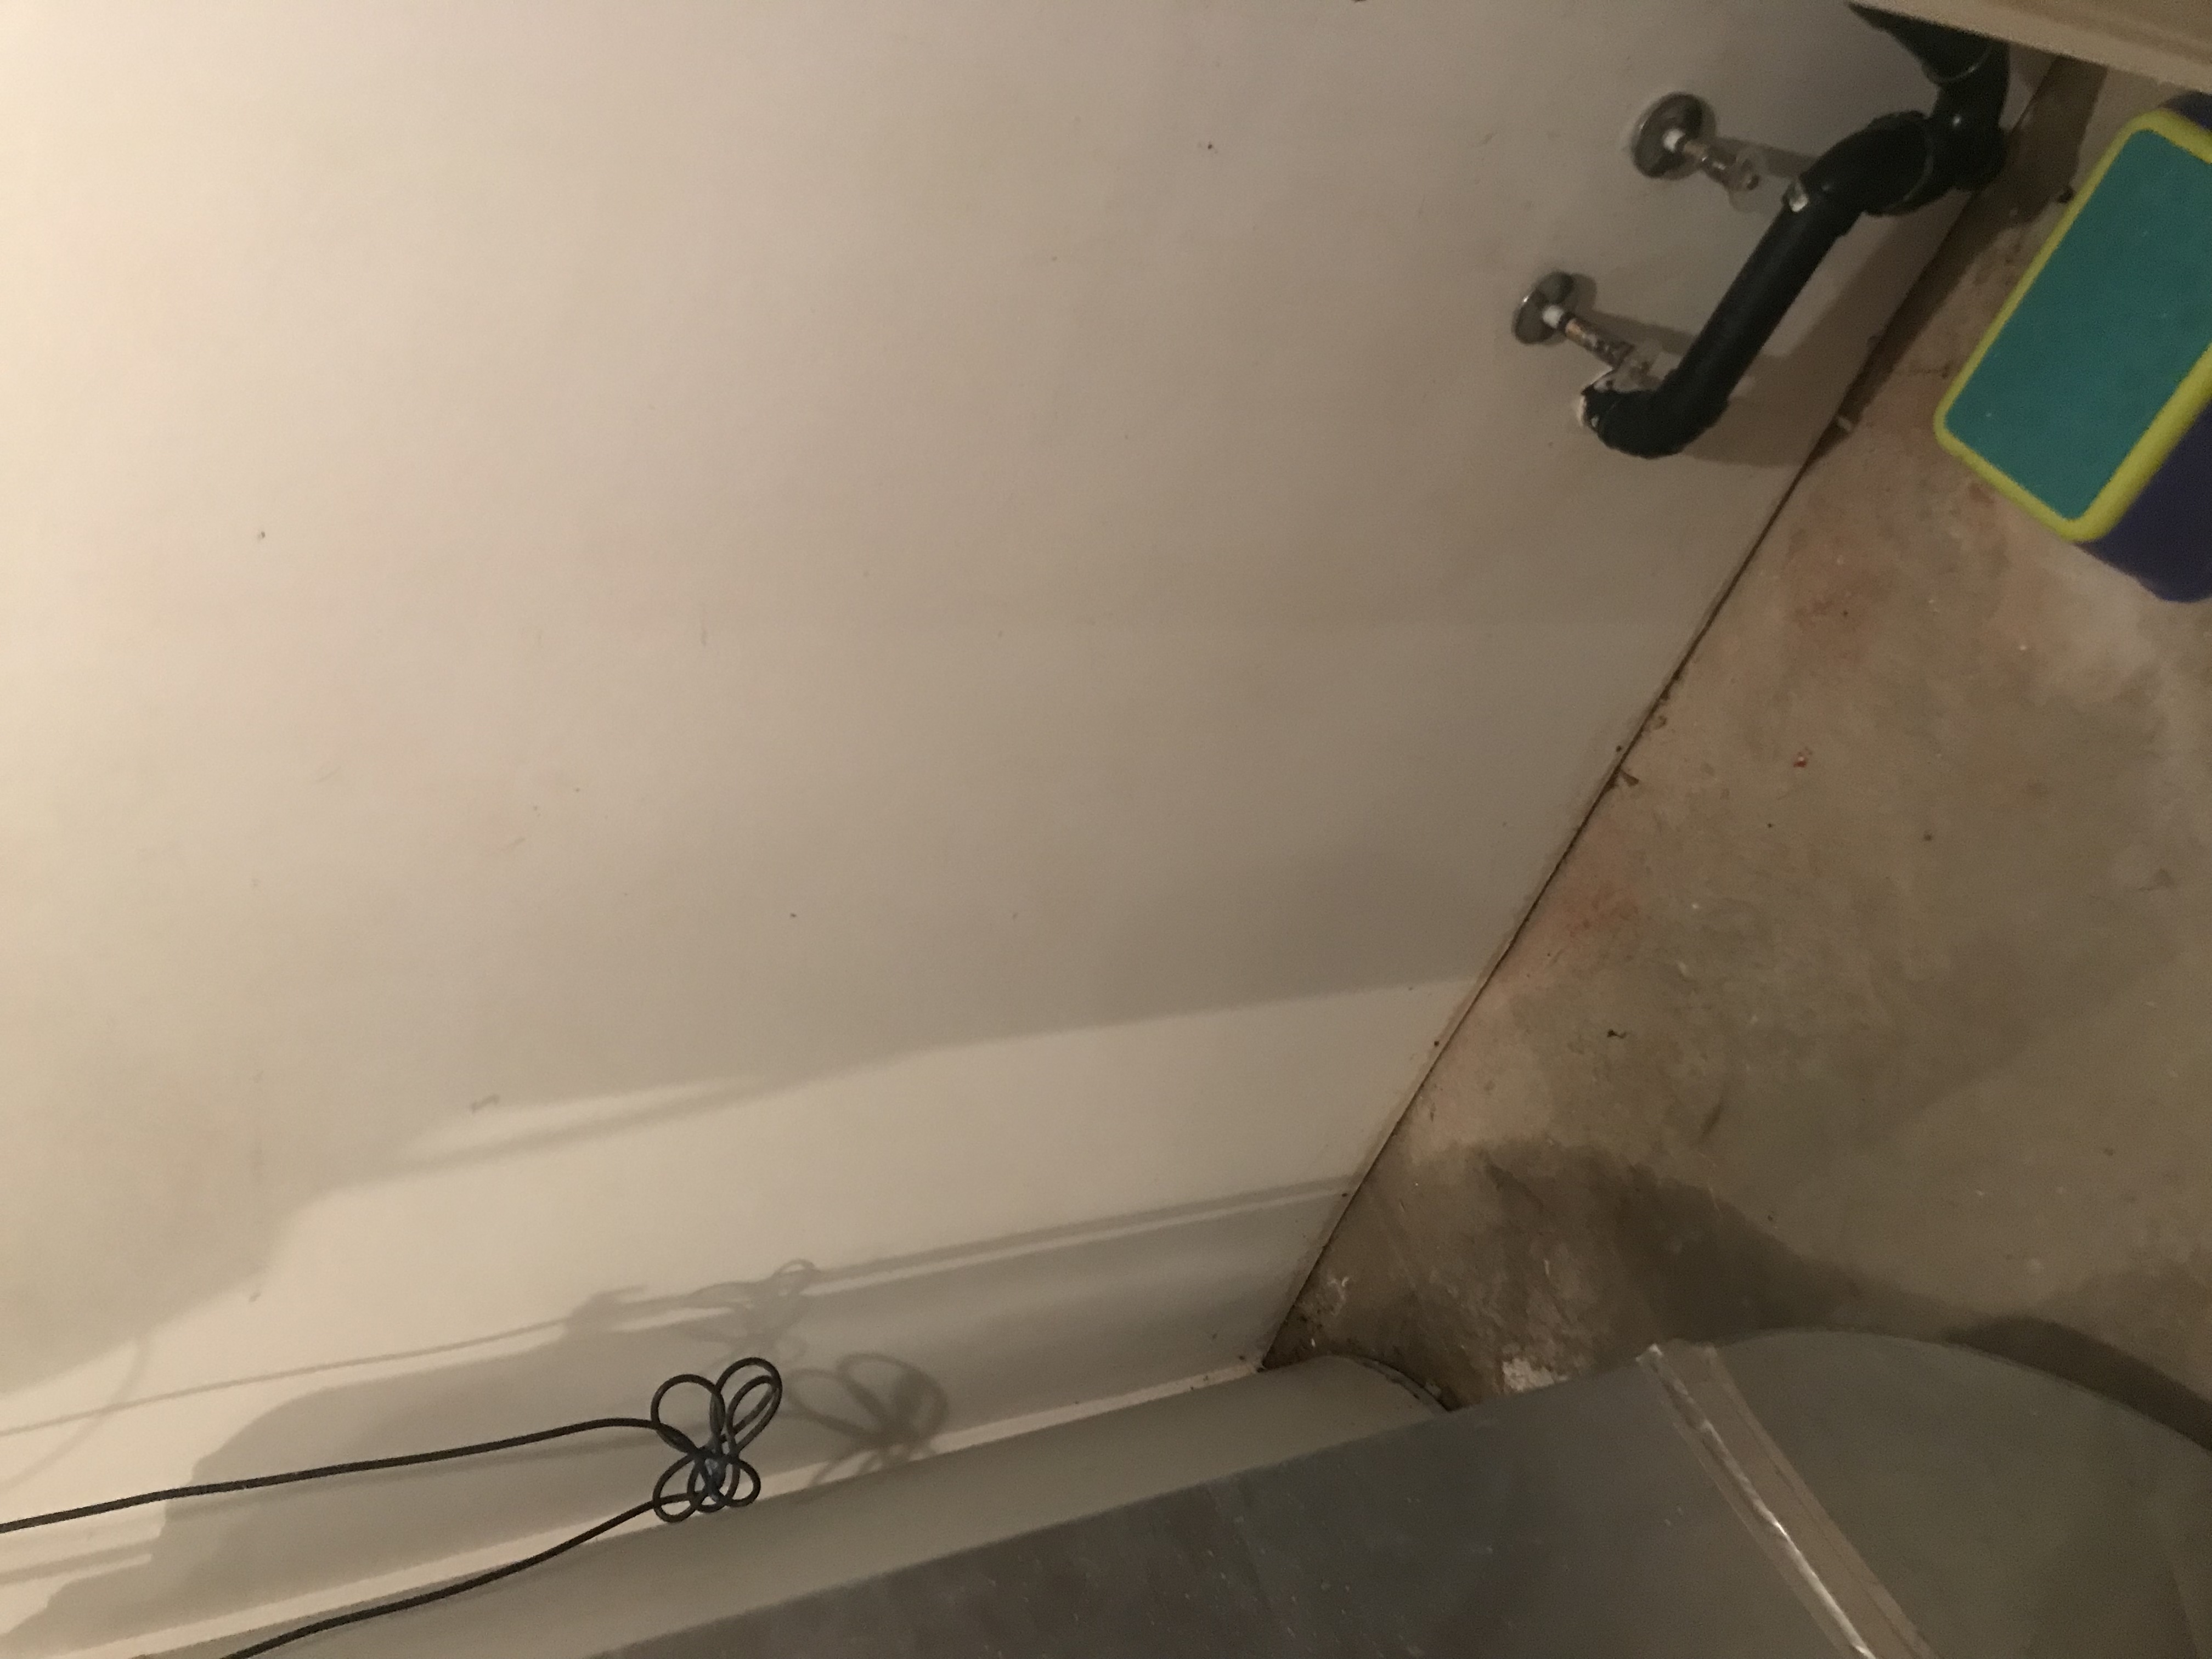
I am now ready to take delivery of the new Hot Water tank, drain and remove the old one and install the new one....
Installation of New Hot Water Tank
The new Hot Water Tank was delivered as expected before 9 am. "Nick the Plummer" showed up right after that at 9 am and we began the job of breaking down / disconnecting the old tank and draining it - which was tougher than expected as the drain at the bottom of the tank was clogged with debris. I used a torx screwdriver to loosen up the debris so that we could drain the tank.
When emptied, the tank was still quite heavy (likely as it contained a build up of debris) but with my sons help (Tanner) I was able to get it removed and the new tank placed into the corner of the Furnace room. Now time to solder in the new tank. Here is Nick hard at work.
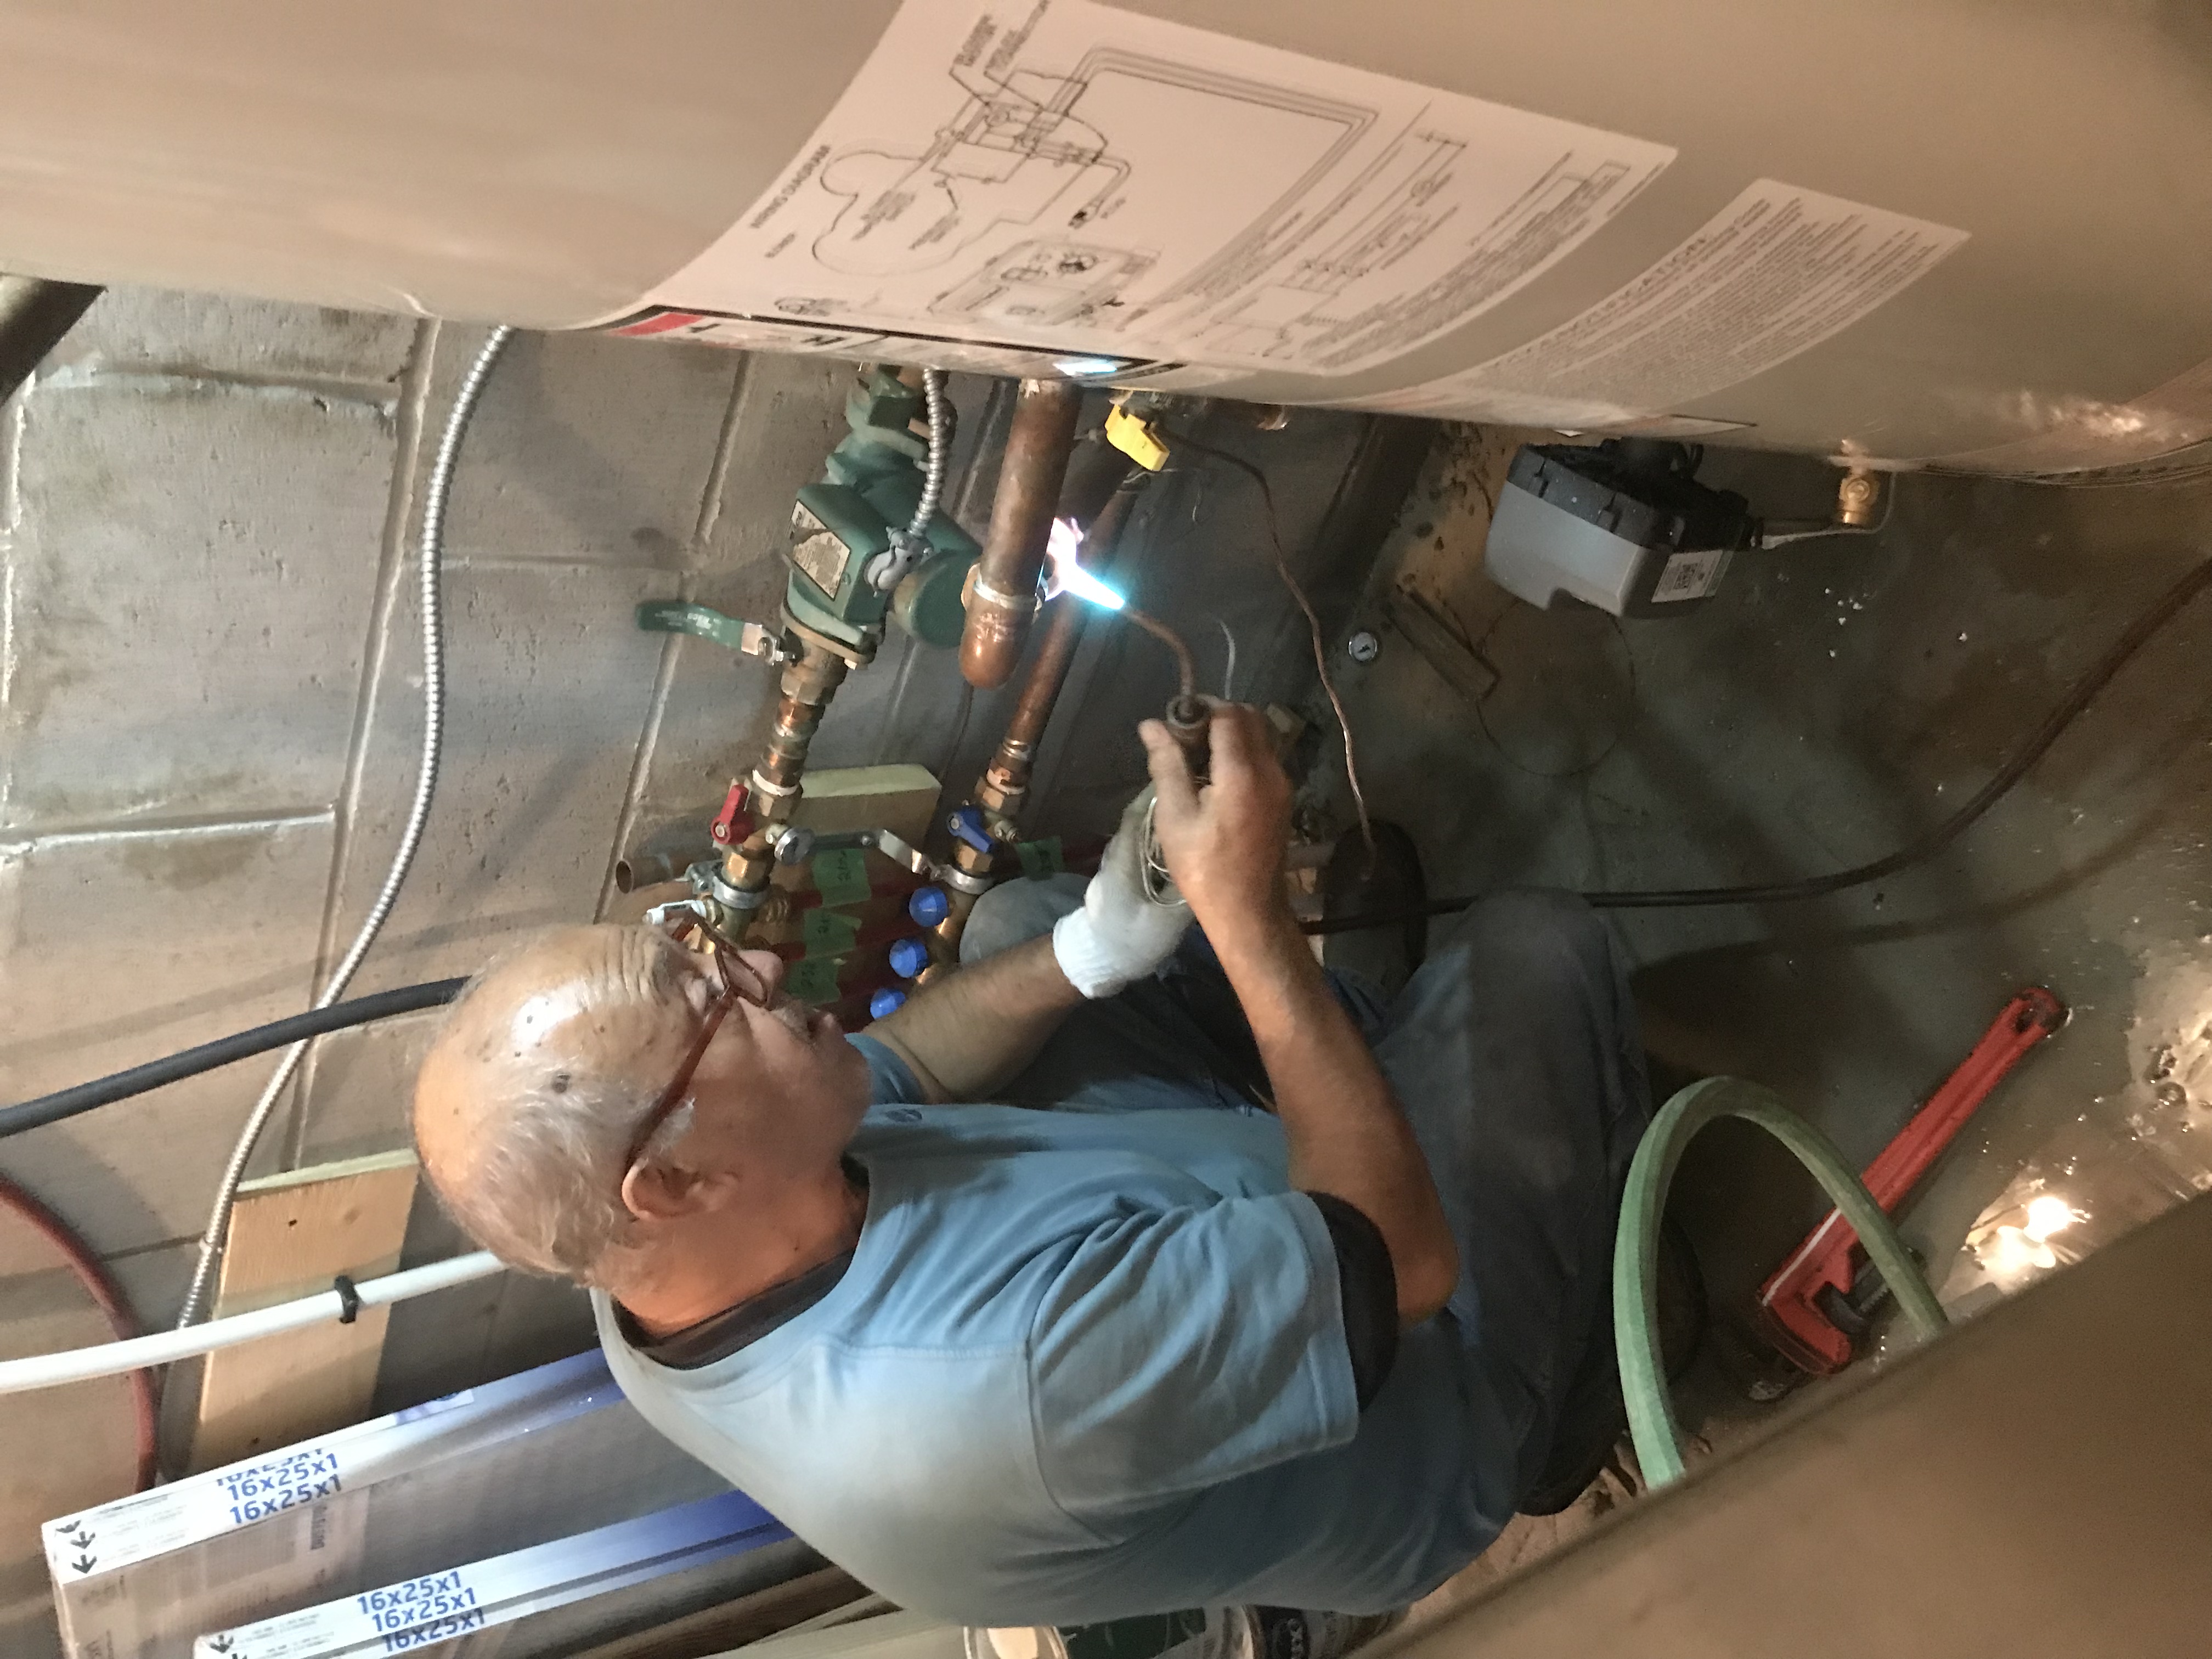
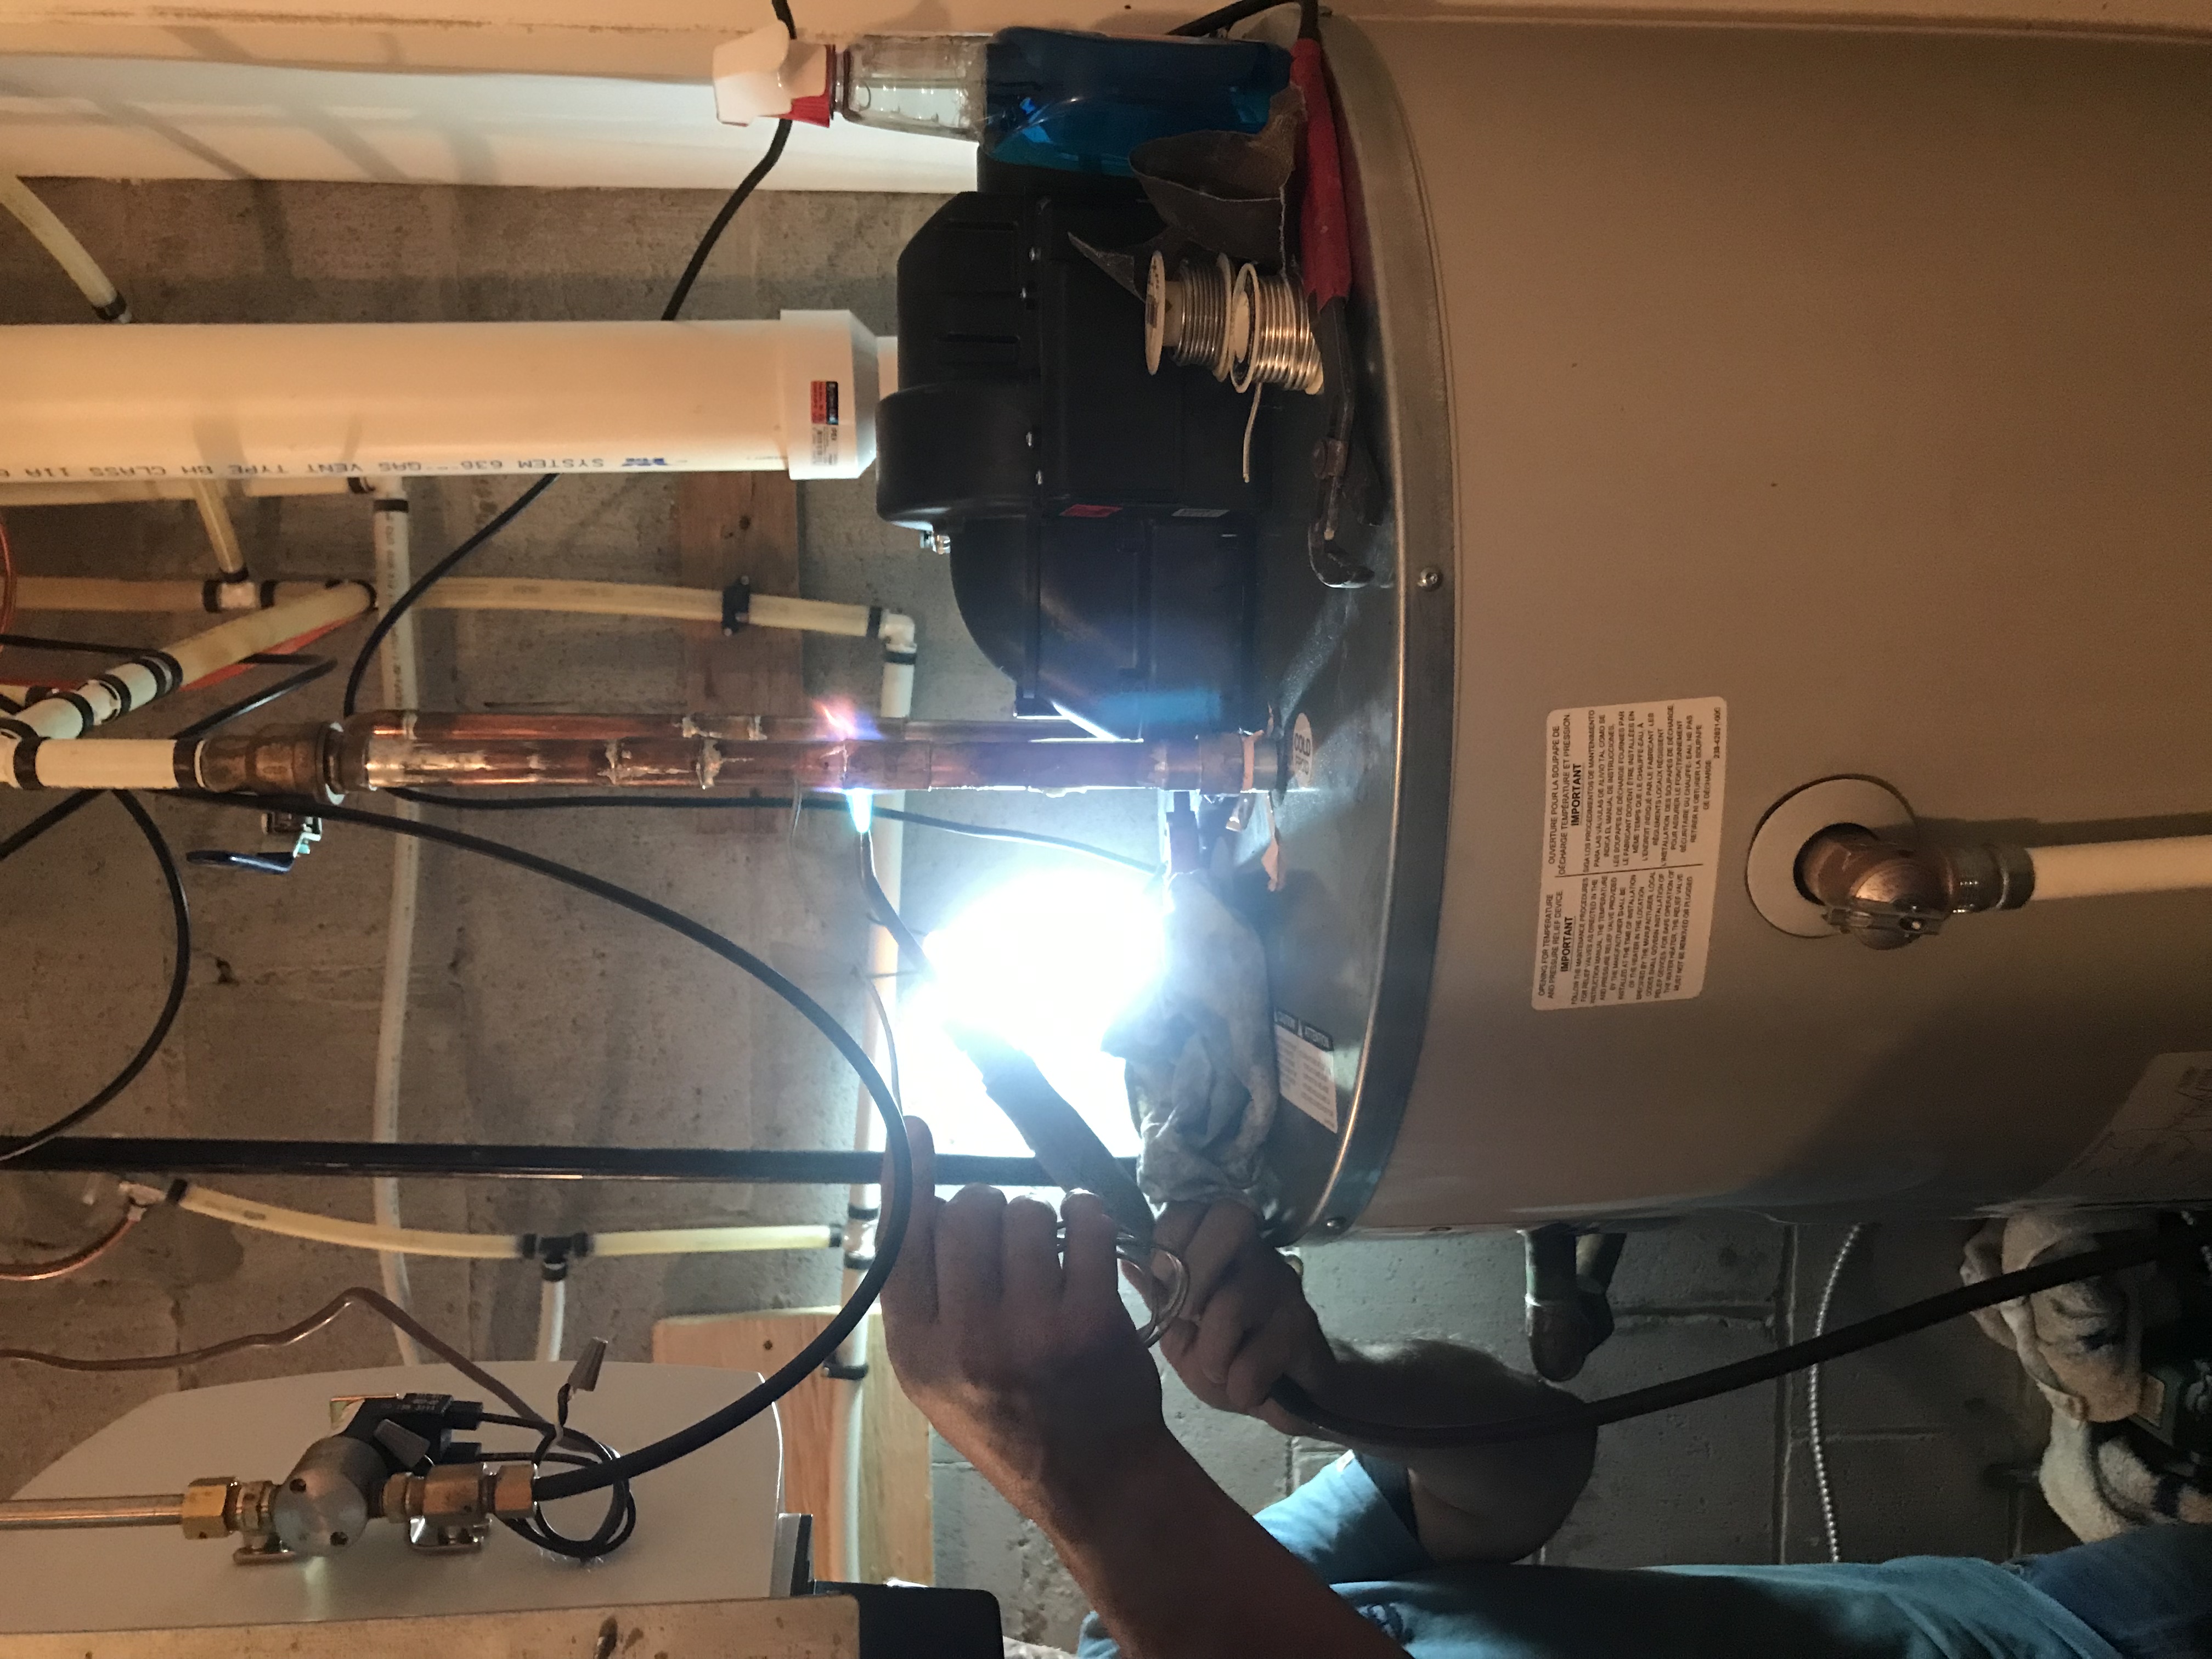
We installed the new tank, gas line, blower, etc. We then tested the lines for leaks and we were good to go... All well before the 24 hour mark of discovering that we had a faulty tank. Should be good till 2034 !!
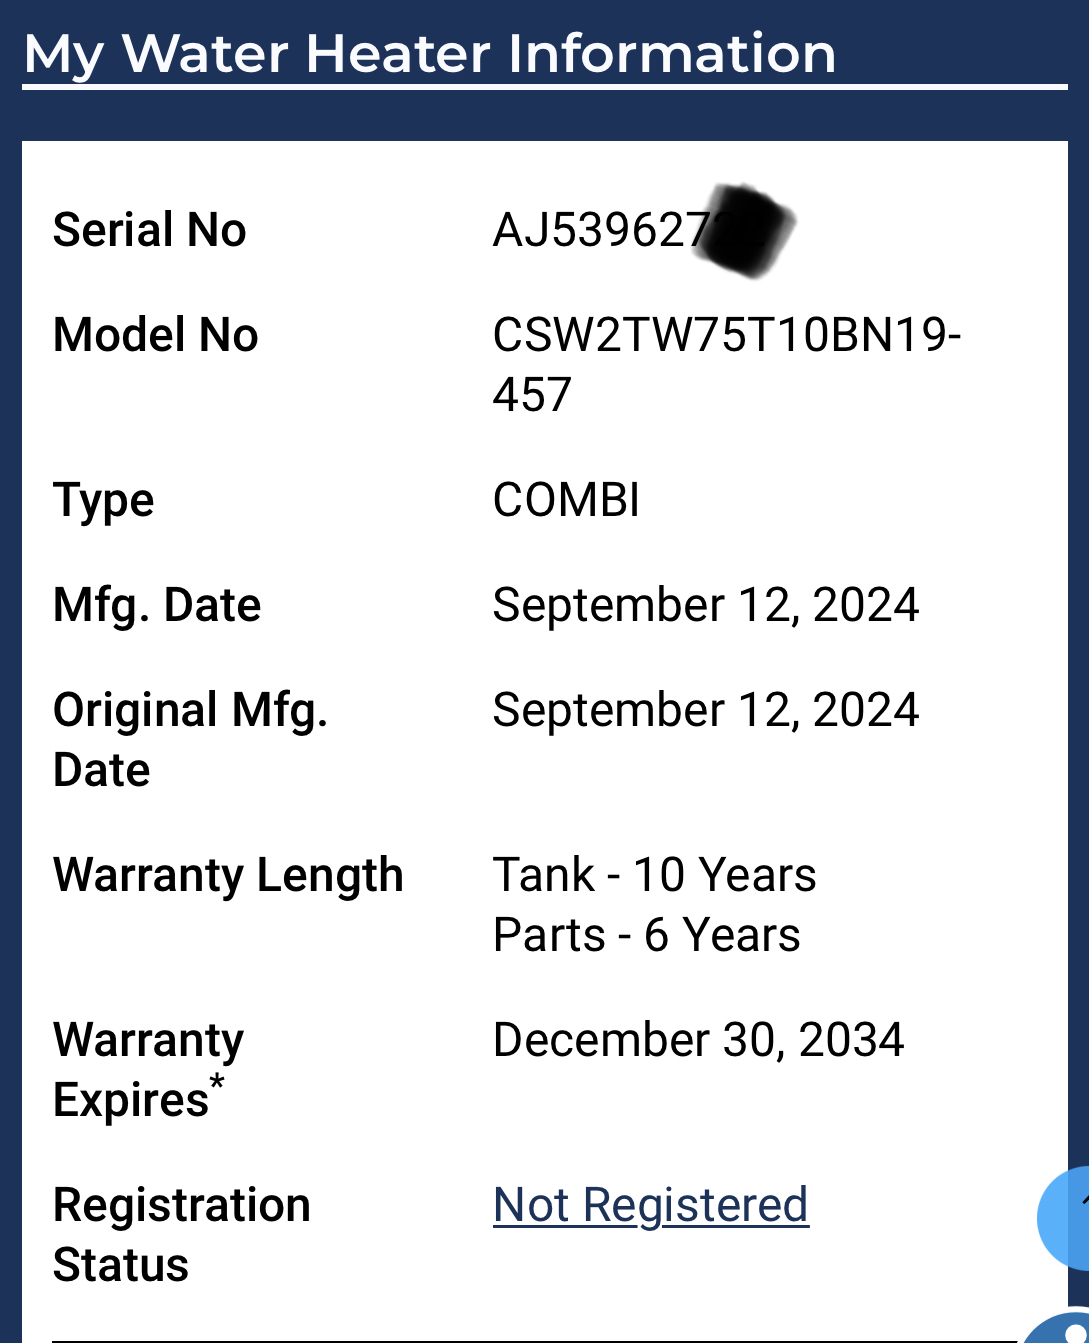
I left the old tank at the end of the driveway and it was gone by morning - taken away by one of the roving scrap hunters :-)
Update - Minor Tuning Required
A few days later I could see a small drip from the radiant floor heating loop union connector that Nick installed. When I attempted to tighten the union it started leaking badly?? I subsequently drained the loop and took apart the union. Upon closer examination, I could see that Nick had introduced some solder inside the union during its installation that was causing the issue. I cleaned up the union and re-installed, tightened it up, and it appears that I was able to salvage the union in such a way that the leak stopped.
