
In this article I show you how to configure Kodi so that the display fits any TV screen
Here are the steps for configuring the display to fit to your TV screen

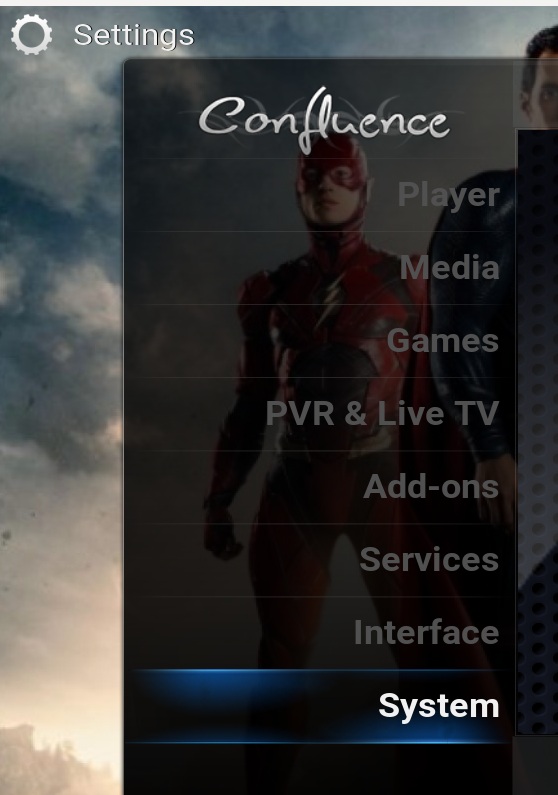
- Go to the "System" menu
- Now Select "System"
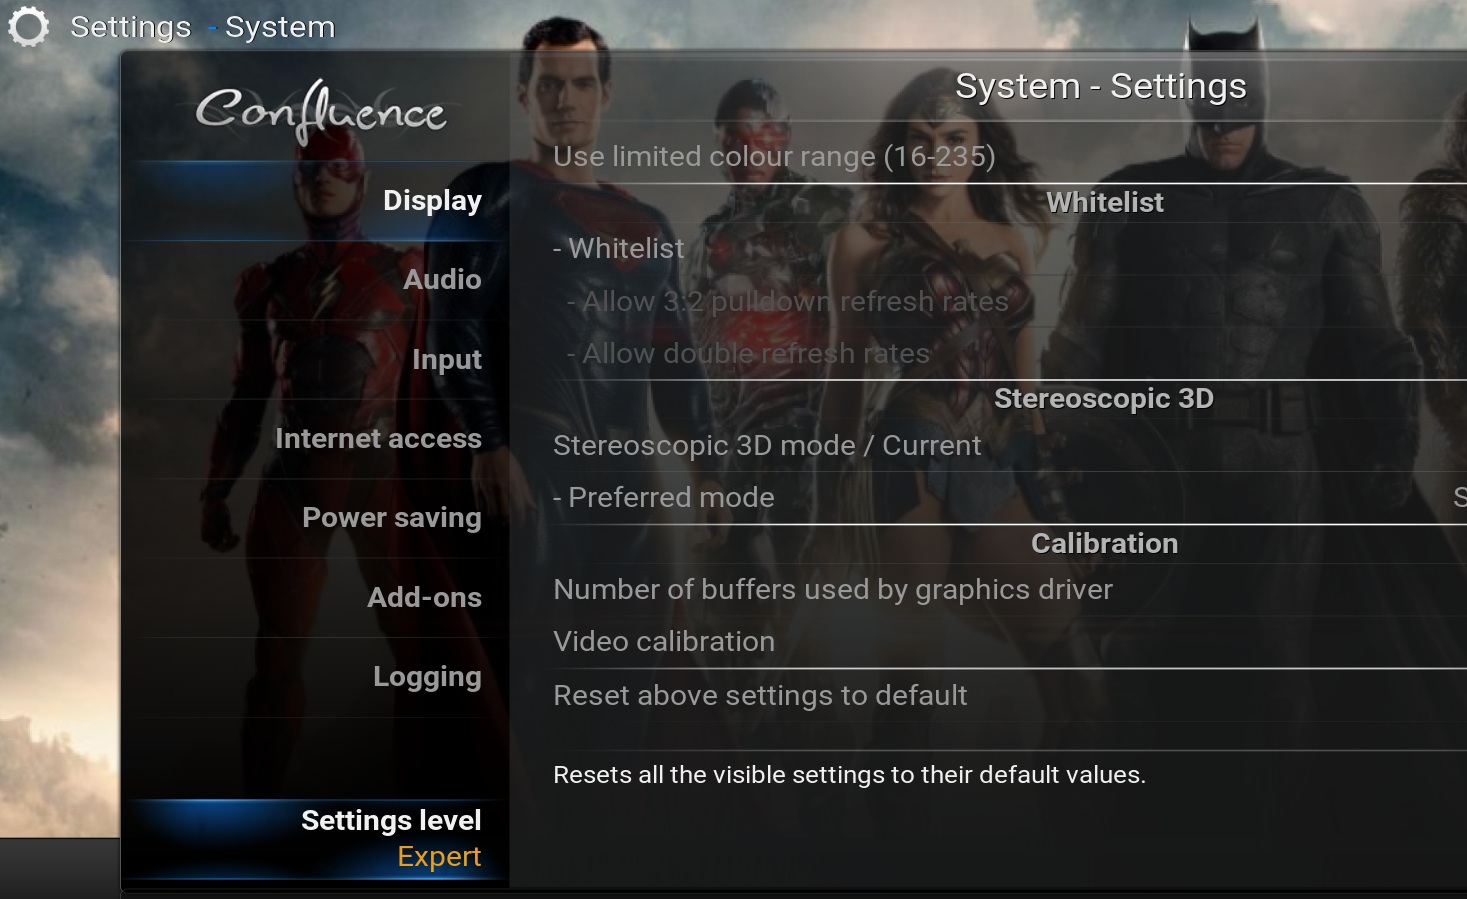
- In this submenu - the first thing that you need to do is change the "Setting Level" to "Expert". To do this simply click on the "Settings Level" until it displays "Expert". Now select "Display" and on the right side scroll down and select "Video calibration"
- You will need to calibrate the screen in 4 easy steps:
- the top left corner (left and top)
- the bottom right corner (right and bottom)
- the location for the subtitles (typically we leave as the default location)
- in the last step, you can optimize a "square". Typically we just ignore this step as it attempts to calibrate the x,y pixel aspect ratio
To calibrate the corners of the screen - simply start the "Video calibration", you then use the mouse pointer on your remote to move a blue bar (left, right, up or down depending on the corner that you are adjusting). Below is the first step that is presented (it starts with the upper left corner). Here you simply move the blue bars in the top corner to fall just off the screen. When complete hit the select button or enter on your remote and you will be presented with the bottom right of the screen. Repeat the process of moving the bars for the bottom right corner just off the screen. Once you complete you hit the select or enter button on your remote and you will be presented with the option to move the subtitle default location and then the pixel calibration square. Once you complete all 4 steps you can exit the video calibration screens and your Kodi screen is now calibrated to fit perfectly on your TV and Kodi will remember these settings going forward. Here is what the first screen (top left corner) looks like. The red arrows are pointing to the blue calibration/alignment lines that you move using your remote:
