This article describe how to adjust the padding around images added to articles as well as fix the fact that drop down menus appear transparent and the background image does not scale properly in the Safari browser.
Issue #1 - Image Padding
When using the Cassiopeia template in Joomla and you add an image to your article, the default padding is only 1 pixel which causes the wrapped text to bump right up to the image. This does not look appealing so a mechanism is required to allow you to adjust this padding.
Solution
To solve this issue, the best way is to utilize the user.css file capability to allow you to add extra padding.
Steps
- In the user.css file define the following:
- .photos {
float: left;
margin-right: 20px;
} - Or do a global change using:
- a img, fieldset, img { border: none;
margin-left: 8px;
margin-right: 8px;}
- a img, fieldset, img { border: none;
- .photos {
- Now when editing the Article in question, select the "Images and Links" tab and in the "Image Class" field call the "photos" class.

Issue #2 - Transparent Menus in Safari Mobile
When using the Cassiopeia template in Joomla and you view the site using the Safari browser, the drop down menus have a transparent background and when the text is a light colour (i.e. white) it is difficult to see the menu items.
Solution
To solve this issue, the best way is to utilize the user.css file capability to allow you to add code to make the menus horizontal.
Steps
- In the user.css file define the following:
-
- @media (min-width:768px) and (max-width:1200px) {
.container-header .mod-menu {
display:flex;
flex: 1 1 0%;
flex-direction: row;
}
}
- @media (min-width:768px) and (max-width:1200px) {
-
Issue #3 - Background Image not rendering properly on Safari Mobile
When using the Cassiopeia template in Joomla and you view the site using the Safari browser, the background image does not scale properly.
Solution
To solve this issue, the best way is to utilize the user.css file capability to allow you to add code to make the background image scale properly or at least better.
Step
- In the user.css file define the following:
-
- /* Fix Background image render on Mobile */
.container-banner .banner-overlay {
background-attachment:scroll;
}
- /* Fix Background image render on Mobile */
-
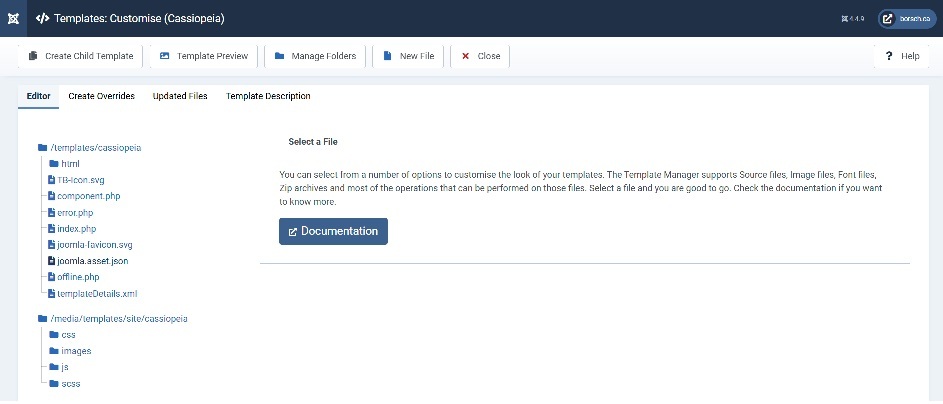
Adding a user.css File
- Add a user.css file to your Cassiopeia installation (if one does not exist).
- Click on the New File Button at the top
- Name the file user in the File Name field
- select the File Type css
- Click on the folder css on the left – be absolutely sure that the folder is really marked!
- Click on "Create"
- Check that the user.css file is really inside the css folder
- Click on the New File Button at the top


