
This article describes how to install the Official Kodi Remote on to your phone. The example I walk thru is for an iPhone but the setup is very similar for an Android phone.
Why Add This App?
Tired or frustrated having to to type in long texts, URLs or codes into screens/panels on your Kodi installation - don't worry anymore!! With the Official Kodi Remote you can easily copy and paste any text into any text field in Kodi right from your phone. Want a handy way to easily manage your Kodi - this App is also a fully functional graphical remote, allowing you to do anything you can do with your “conventional” remote and much more. Graphically and with ease - right on from your phone!. No more searching for batteries for when your remote stops working.


Step 1 - Installation and Configuration
Installing the App
Head to the App Store (or Google Play Store), search for the "Official Kodi Remote" or click on the image below on your iPhone and install it on to your phone.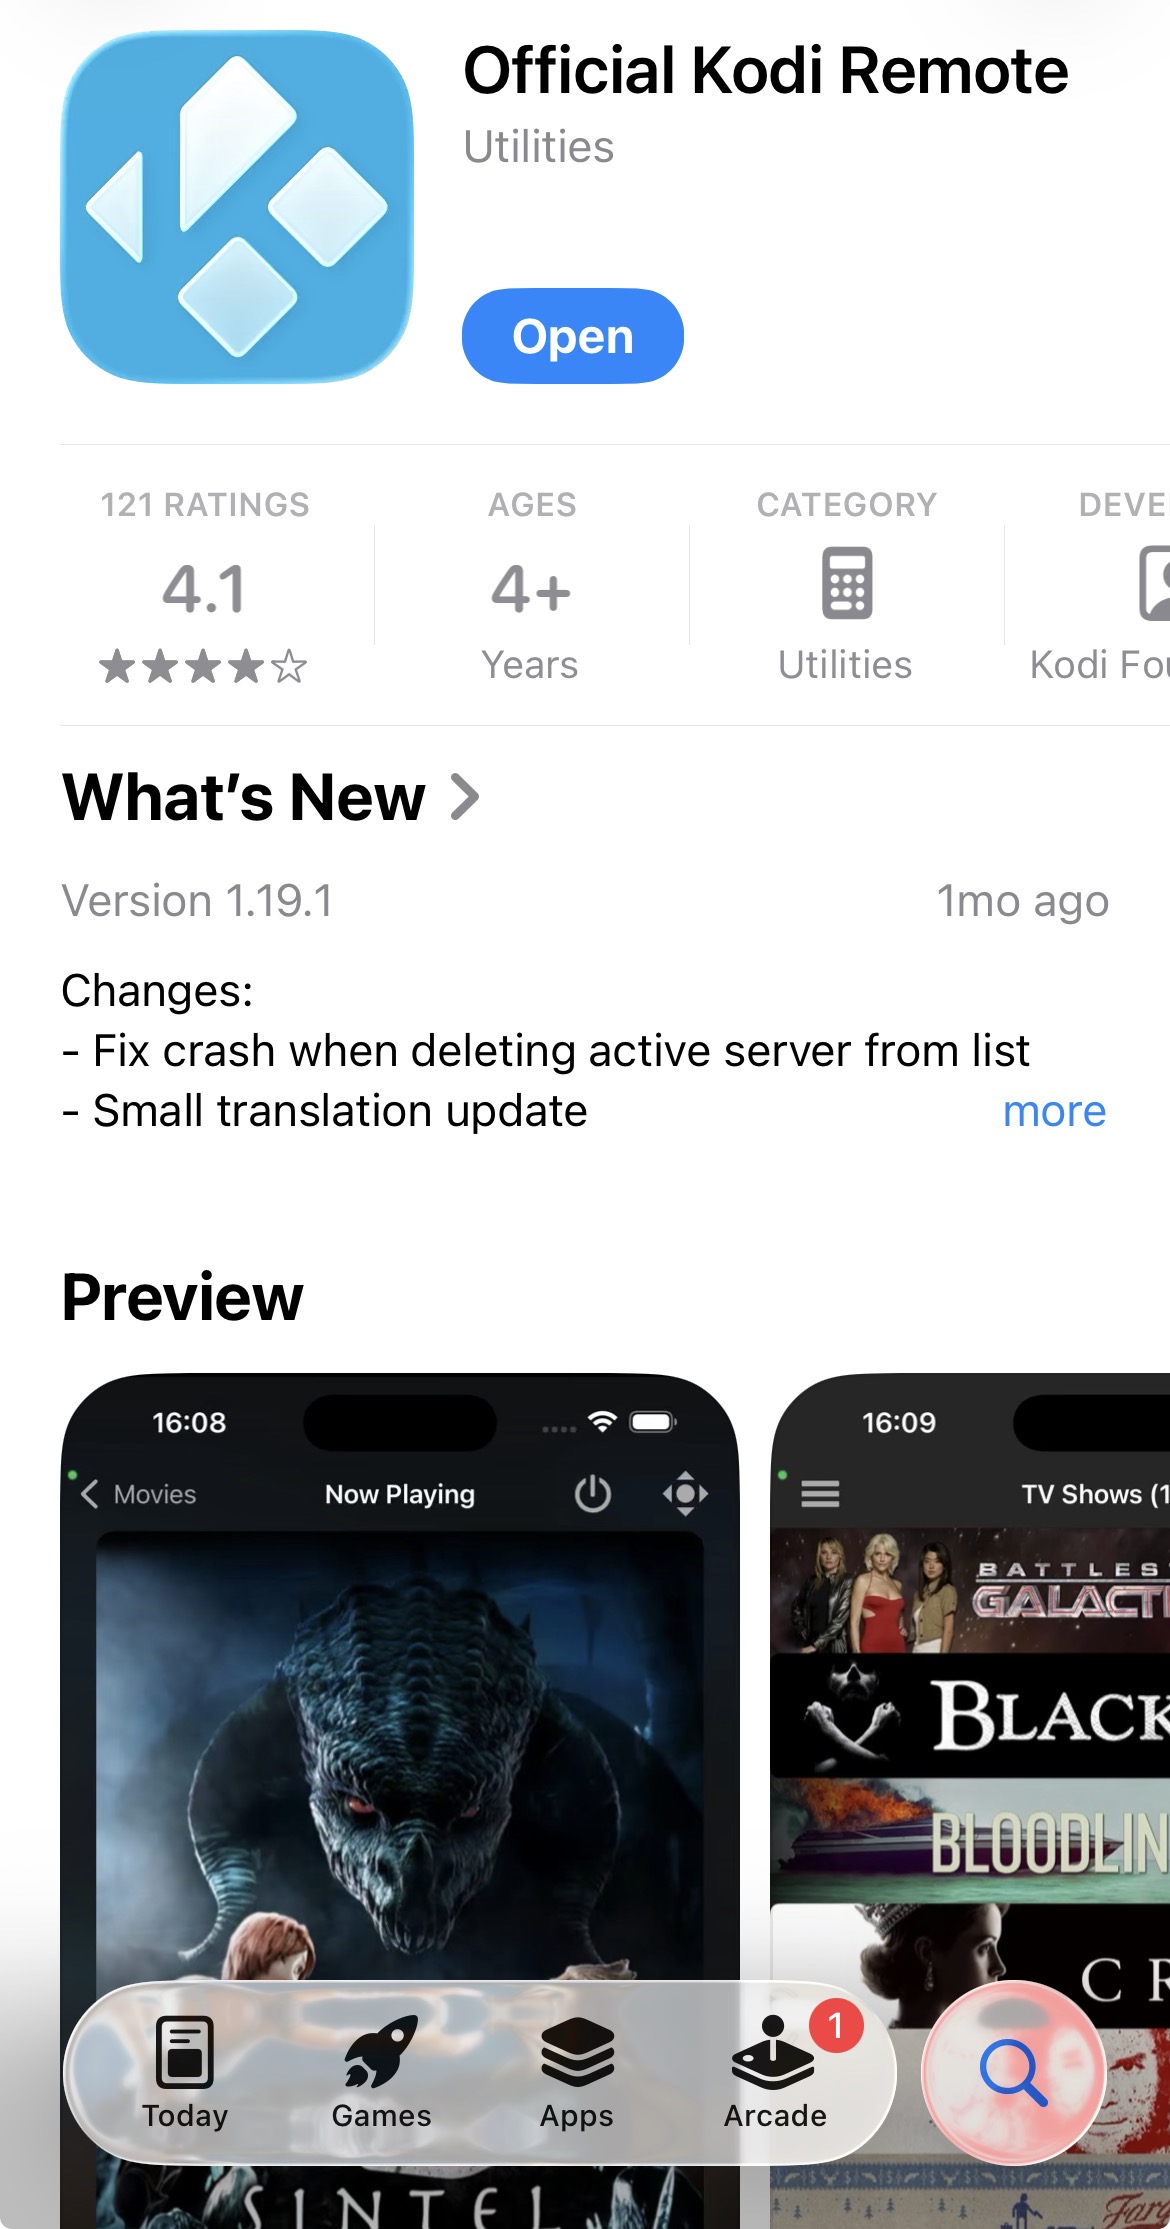
Step 2 - Enable Remote Control in Kodi
You must update your Kodi settings on the desired device to allow for remote control:
1 - Launch the Kodi application on your device that you would like to control using your phone Kodi Remote App
2 - In Kodi enable remote control:
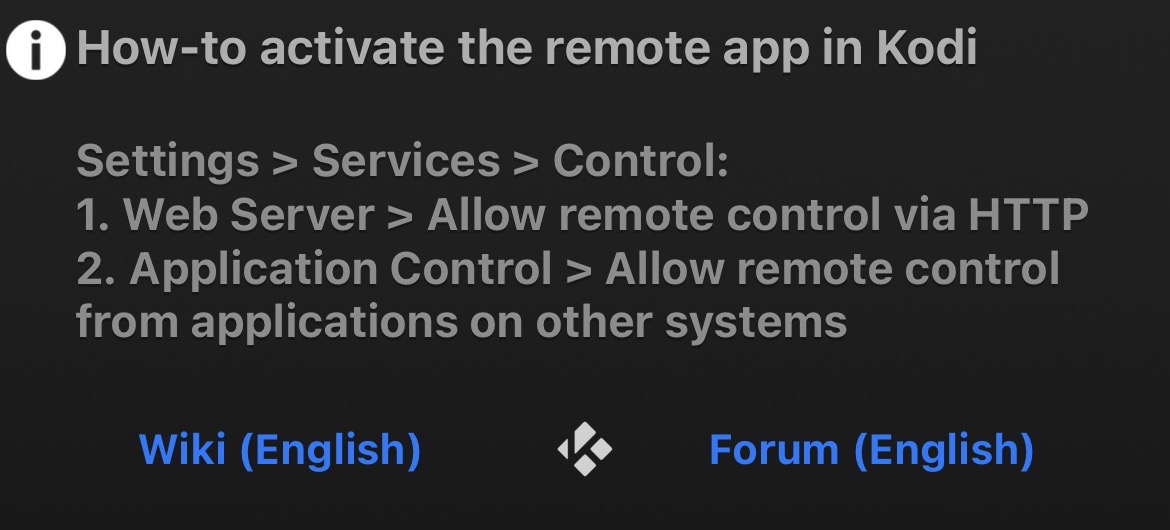
Navigate to Settings > Services > Control and make the following changes;
- Enable: Web Server > Allow remote control via HTTP
- Enable: Application Control > Allow remote control from applications on other systems
- Enter: username and password that you set in the App on your Phone
Your screen should look like this:

Step 3 - Add Your Kodi Device(s) to the Phone App
1 - Launch the Official Kodi Remote App on your phone and use the "Add Host" function to add any Kodi devices that you have running. The top of configuration screen looks as follows:

Here you will need to enter the following
- Description - this can be any description that identifies the device you want to set up.
- Host: Port - the first field is the IP address of the Kodi device you are setting up.
- IP Address: To find the IP address from within Kodi simply go to System > System Info > Network to see the IP Address of the device
- Port - you can use the default port of "8080" in these 2 fields (however, you can change this but it must match the port you set in Kodi)
- MAC Address (optional - not required) - this is the MAC Address of your device. To find the MAC address from within Kodi simply go to System > System Info > Network to see the MAC Address of the device. if this is blank - see below.
- Native O/S: you will need to find the MAC Address from the network settings of your device operating system (e.g. Android O/S) under “Network”.
- Username and Password - this is not required but recommended. The default username is "kodi" and you can set any password (you can change both username/password but they must match the Kodi setup).
Phone and Kodi Device on Same Network
Important: Both your mobile phone and Kodi device must be connected to the same network in order for them to communicate/link. Thru testing it appears that Kodi devices (e.g. Firesticks) connected to high speed Wifi radios (i.e. 5G2 or higher) have challenges, especially when the radios are not “split” (separate 2.4, 5G, etc) and will not connect/timeout when attempting to link your Kodi device to your Kodi Remote App on your phone. Refer to the Troubleshooting tips ln the Advanced section below for how to fix this “timeout” issue.
Once you have successfully linked the Official Remote App on your Phone to the Kodi Device (Note: you need to make the Kodi configurations to allow for remote control), you will get a a green dot and a splash screen indicating that you have successfully connected your phone and you can now use the Remote App on your phone to control all aspects of your installation of Kodi.
Note: You can add as many Kodi devices as you would like to the app and you can easily switch between devices.
Main Interface and Entering Long Text
Main Interface:
The are many online tutorials on how to use this app so I do not walk thru all the functionality in detail, however, here is the main interface for the App on the phone:
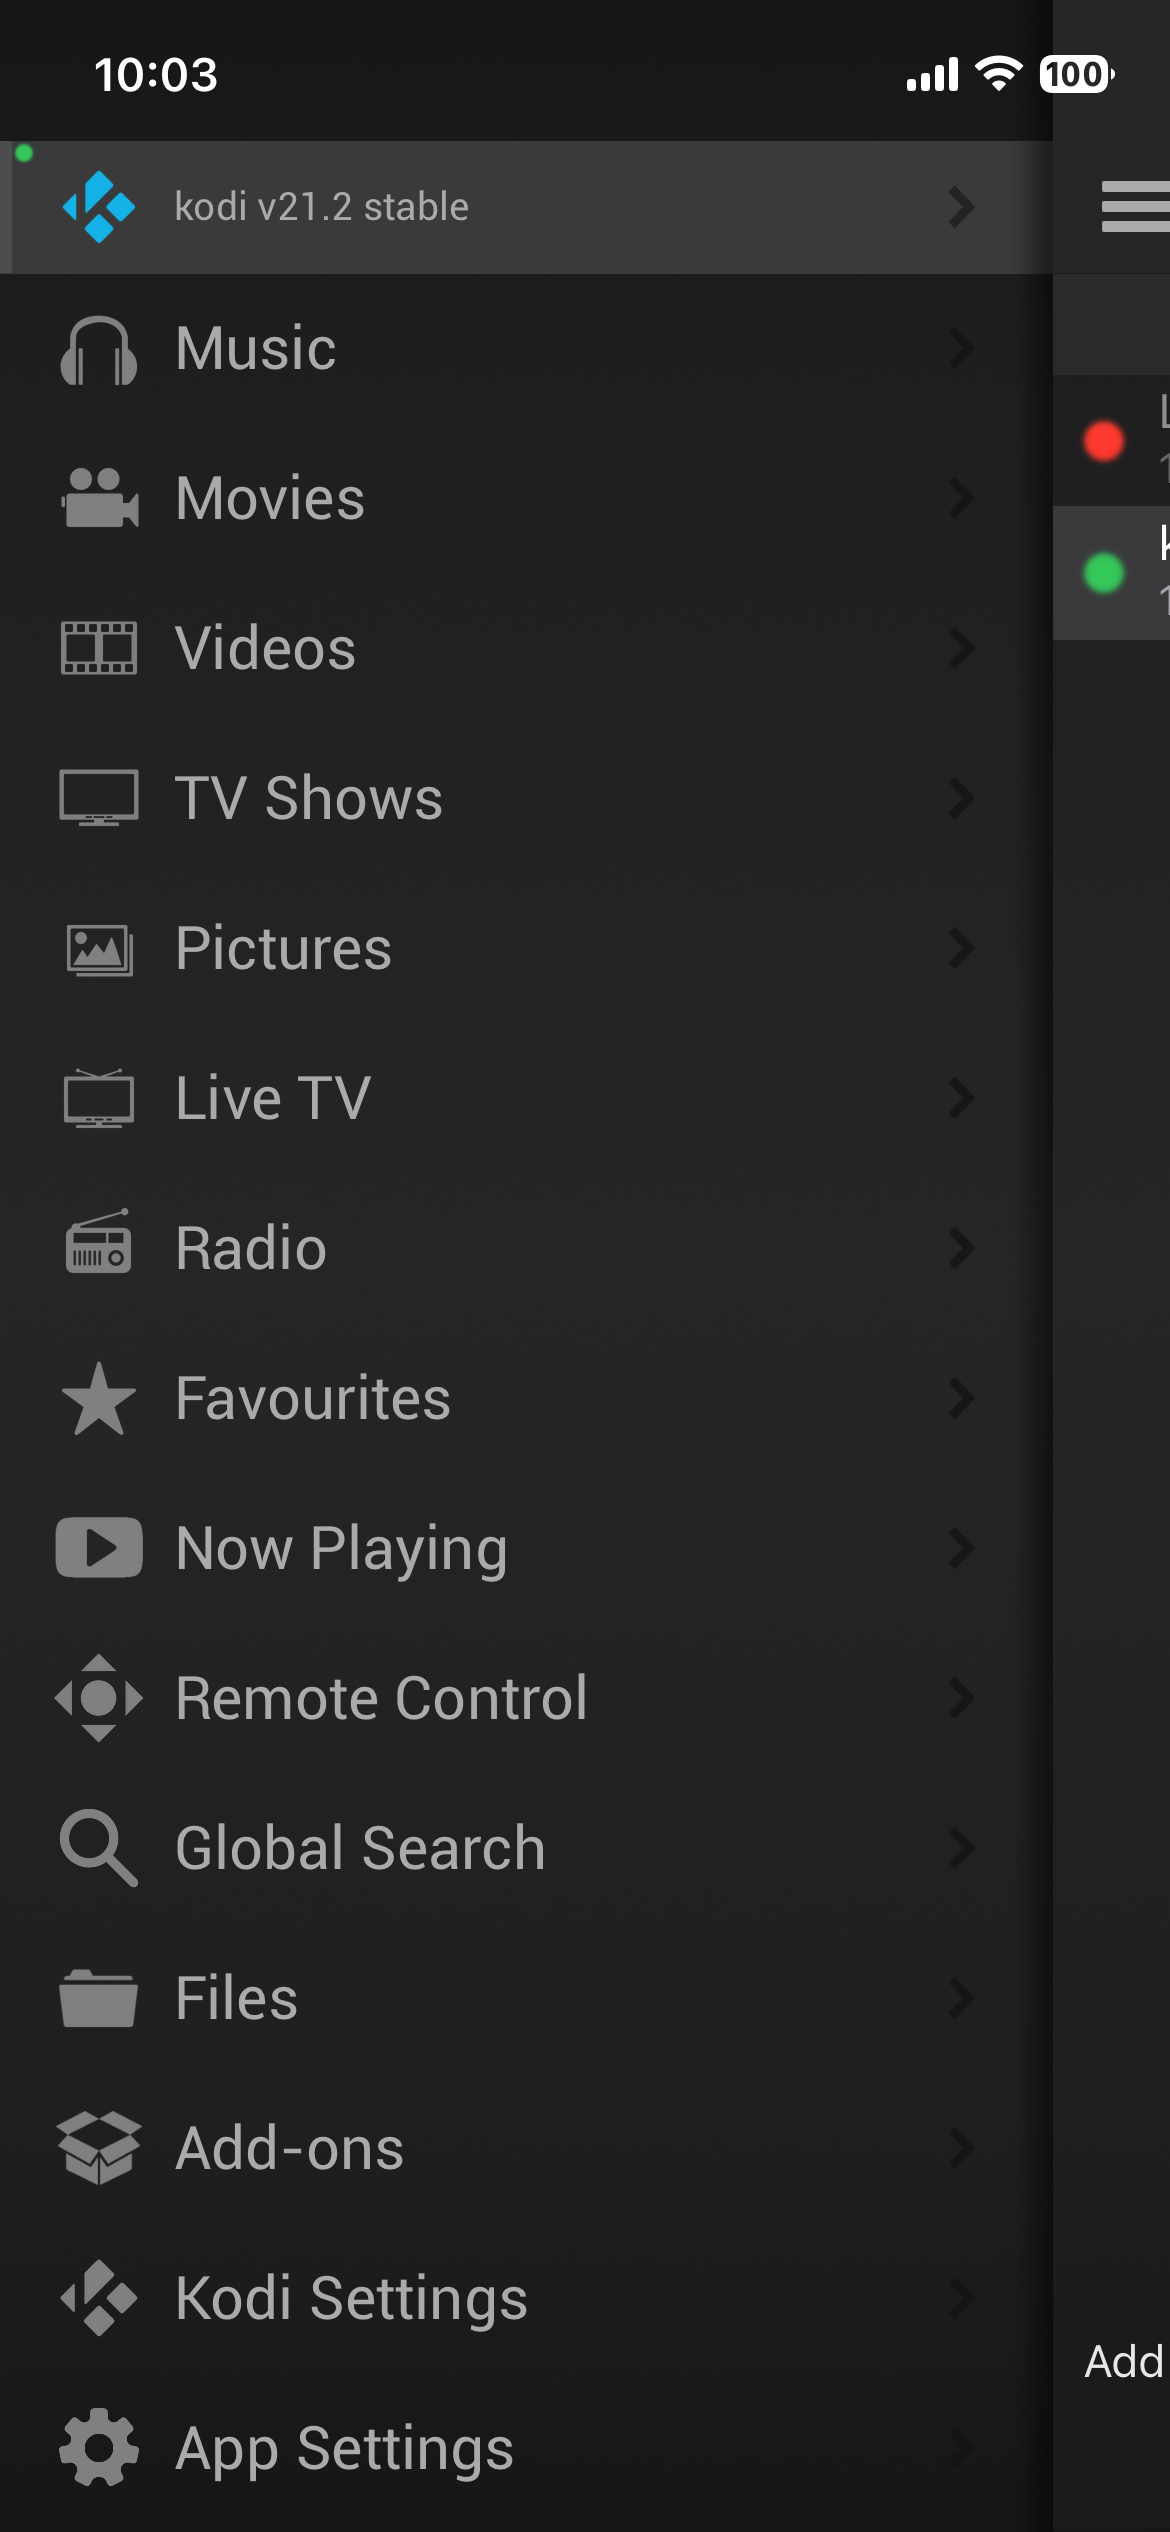
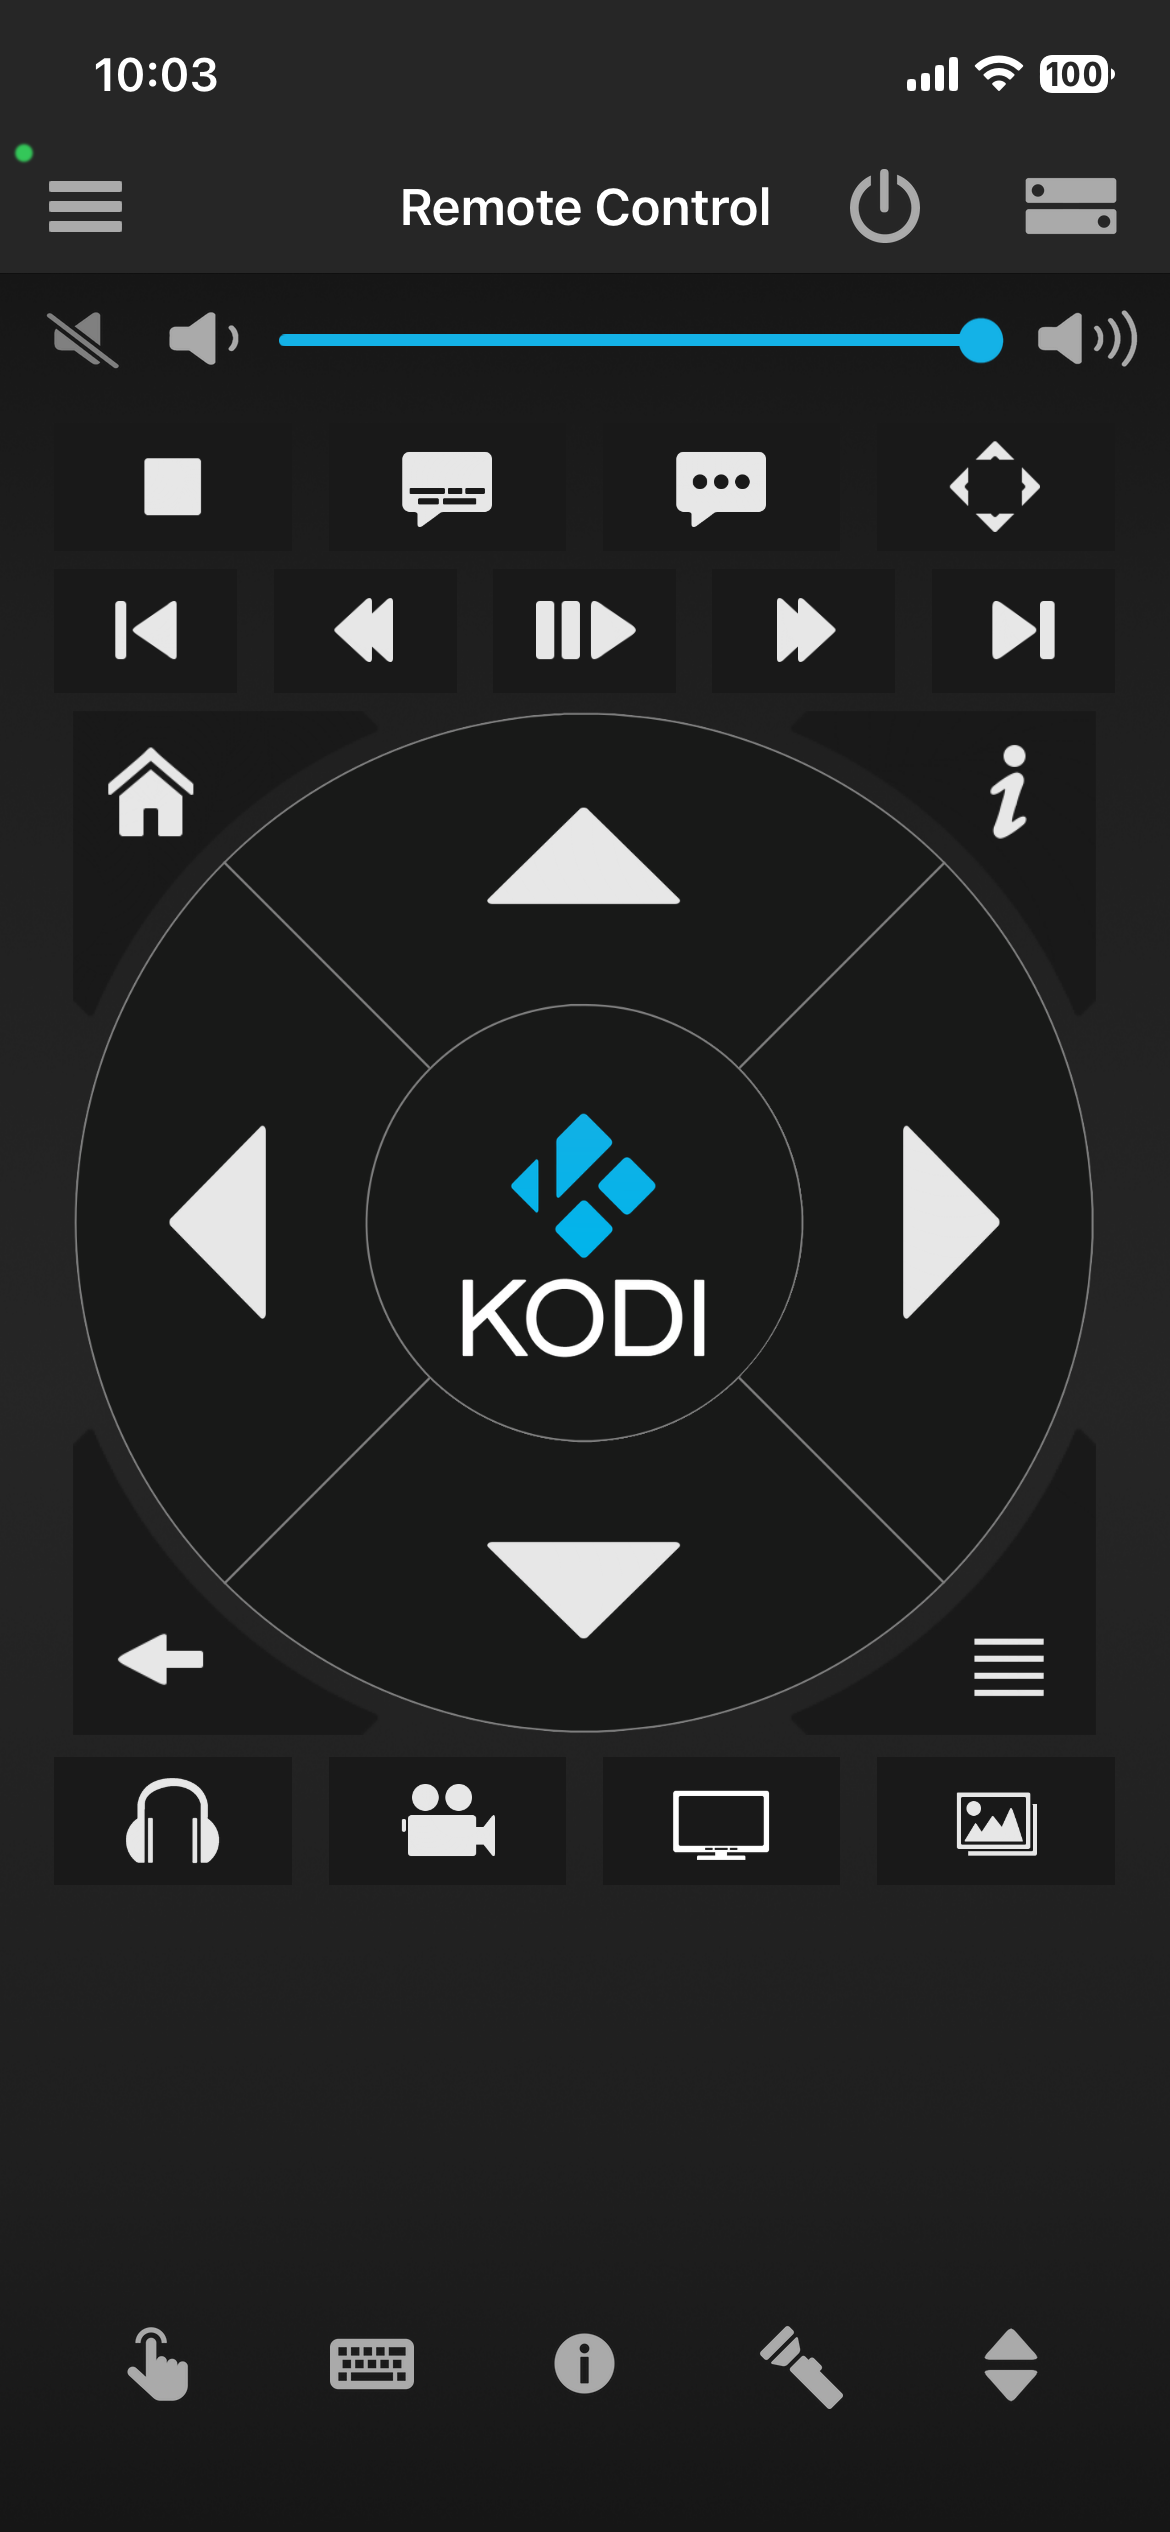
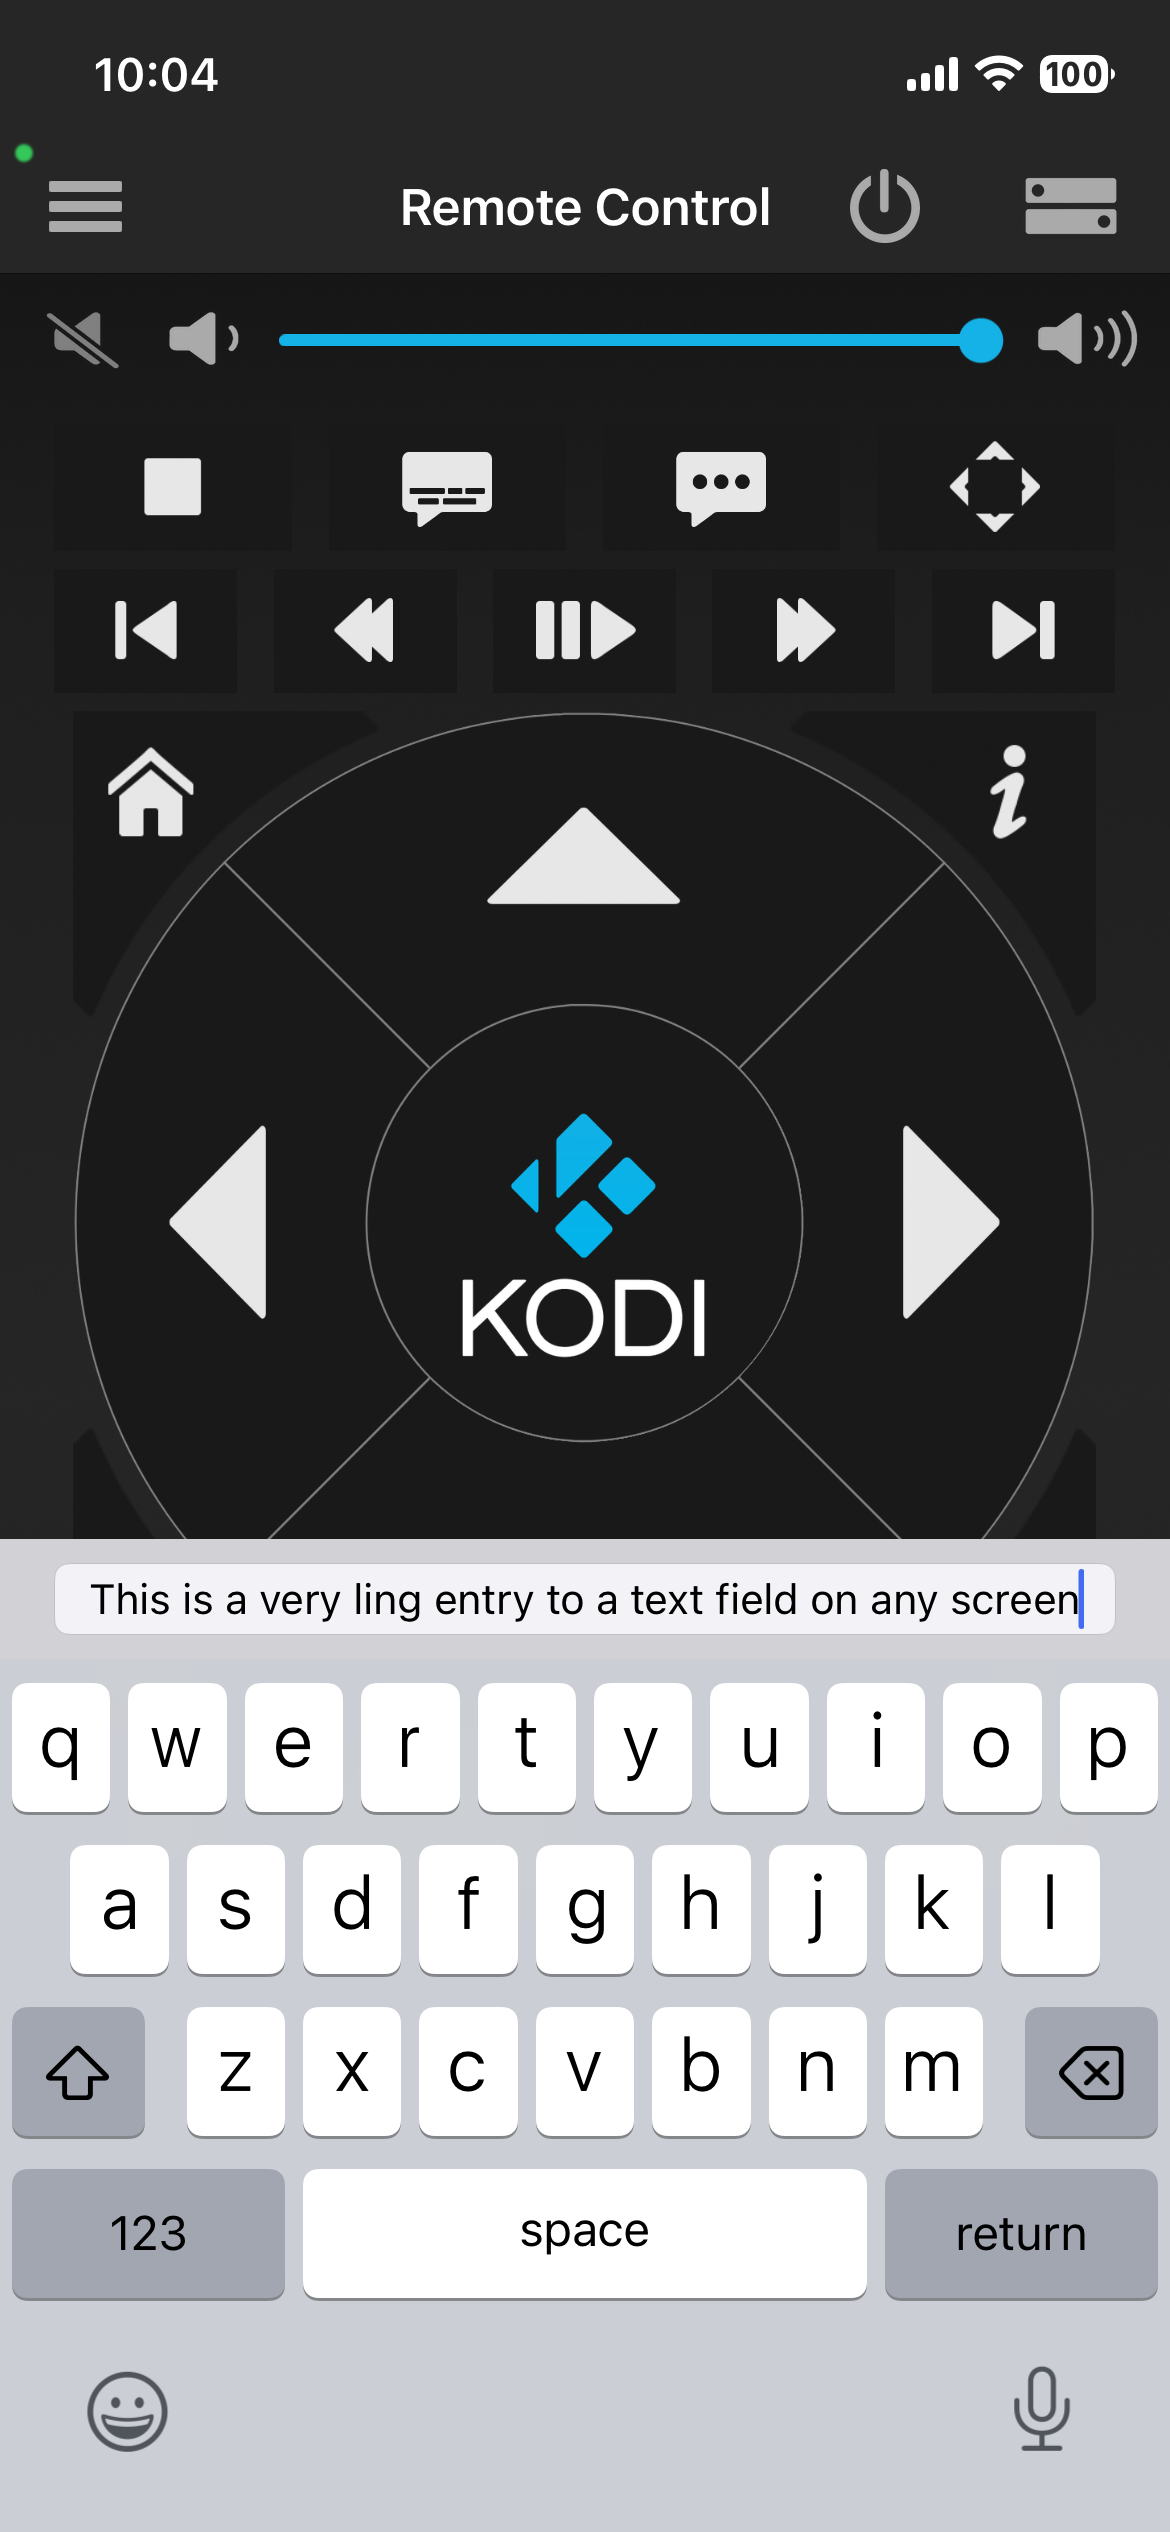
The key feature is the "Remote Control" option - select this option to navigate and control the majority of the features within Kodi and it is also this option where you can easily copy/paste text into Kodi fields. Here is the Remote Control screen:
Text Entry - Copy/Paste
Use the keyboard icon at the bottom of the screen to enter text for any active text field in any panel within Kodi. This launches a keyboard where users can manually enter text but more importantly it can be used to copy/paste text from other apps (e.g. your email, etc.).
IMPORTANT: This is where you can copy/paste text from other applications (e.g. email, etc) into the editing field of the keyboard on your phone. This is very helpful when entering long commands, text, codes, etc. This feature “overwrites” what is currently entered in a Kodi text field - meaning you cannot edit existing text within a Kodi text field as this editor "replaces" the text with whatever you enter:
ADVANCED - "Lock" or "Reserve" IP Address of Kodi Device(s)
To avoid having to re-edit the IP Address of your Kodi device(s) that you configured using this method, it is recommended that you take the extra step to "Lock" or "Reserve" the IP address of you Kodi device on your router so that it always has the same IP address.
The basic steps are as follows:
- Log into your router - usually the address of your router is the first address in the address space of the IP address you used above for your Kodi device but ending in “.1”. For example if the address of your Kodi install was “192.168.1.10” the router address is typically “192.168.1.1”.
- Once you are logged into your router, look for an option that manages your dynamic IP addressing (i.e. DHCP). Here look thru the IP addresses for all devices and find your IP Address and then look for an option to “reserve” the address - removing it from being dynamically assigned.
This will ensure that your Kodi device will always be assigned this same IP Address.
Advanced: Kodi Official Remote Timeouts - Troubleshooting Tips
Kodi's official remote (Kore or official Android/iOS apps) often struggles with 5GHz, 5G2Hz or higher WiFi radios due to the fact that most of these more modern high speed routers use AP Isolation (client isolation) on the routers, which prevents devices from seeing each other. Also, if your phone and Kodi device are on different bands of the router (5G2 vs 5GHz vs 2.4GHz) AP isolation may block the traffic causing the timeout.
- Disable AP Isolation: Log into your router settings (via browser) and if you have the option, you can disable "AP Isolation," "Client Isolation," or "Guest Network" modes to try to solve your timeout issue, or better…
- Unify or Split SSIDs: Ensure both your phone and the Kodi device are connected to the exact same network name (SSID). If your router uses the same name for multiple bands (e.g. 2.4/5GHz) you must force them to the same band (but this may not be an available option), or in most cases you will have to configure your WiFi on your router to separate or split the bands - creating multiple SSIDs for each mode (2.4, 5G, 5G2, etc) and ensure that both your Kodi device and Phone are on the same one (ideally 5G or 2.4Hz).
- Restart Network & Devices: Restart your router, Kodi device, and phone and your Kodi Remote App will now connect.
Questions/Comments/thanks -