
![]()
In this article I show you how you can use Kodi on a Firestick.
This article is obsolete and has been superceeded by How To? - Setting up a Firestick Out-of-the-Box and Adding Kodi
As a good example of devices with limited interfacing capabilities, we’ll use the Amazon Fire TV Stick. Contrary to other similar devices, the Fire TV Stick has no USB port so you can’t connect it to a computer and you can’t connect some external storage device–such as a USB key or external USB hard disk–to it. The only thing you have is a WiFi connection with very limited local network access capabilities. this cloning method can be adapted to other devices with limited interfacing options.
Installing ES File Explorer On Your Device
With such limited connectivity devices, the only way to clone the Kodi configuration is through the network. There are two ways it can be done, via the local network or by using the Dropbox online storage service. Both require that you install ES file explorer app on your device.
Installing ES File Explorer On Your Device
Note: If you’re using another type of Android device with no external storage facility, you can possibly install ES File Explorer from the Google Play Store.
- Go to your Fire Tv Stick Home screen by pressing the Home button on the remote. From there, click Search which is at the very top of the Home screen menu.
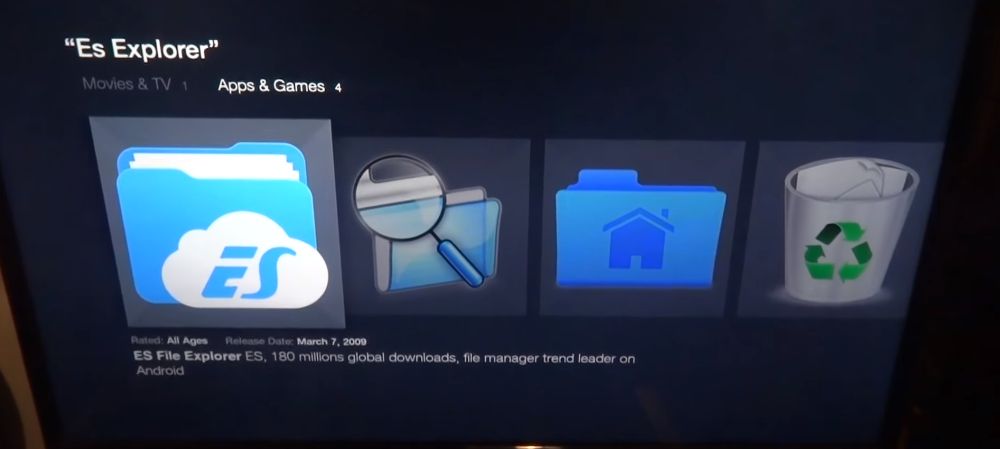
- Search for es file by typing it in using the on-screen keyboard.
- From the search results, select the ES File Explorer app.
- Select Download to start downloading and installing the ES File Explorer on your Fire TV Stick.
- Once the installation is complete, click Open to launch ES File Explorer on your Fire TV Stick.
- You’re now ready to use it.
Method 1: Direct Transfer Using the Local Network
- Use this method if both devices are connected to the same local network and the source Kodi data folder is available as a network share.
- From the Es File Explorer app on the destination device, click Network from the left side menu. Then, click LAN and, on the right side, click the Scan button.
- Your source computer should soon appear. You can then navigate it to find its Kodi data folder.
- If you don’t see the source computer or the share or you can’t navigate to the Kodi data folder, check your sharing parameters on your source computer. If you change them, be patient as some sharing changes can take a few minutes to take effect.
- Once you can see the three source folders in ES File Explorer on the Fire Tv Stick, you’re ready to start copying them. Hold the remote control’s Select button and click each of the addons, media, and userdata folders.
- The Fire TV Stick’s user interface is a bit tricky to use but you now need to move back to the menu on the left, go down to the bottom and find and click the Copy button.
- Go back to the Network tab on the left side. This time, click Local and navigate to Android/data/org.xbmc.kodi/files/.kodi/.
- Once you’re there, click the Paste button. When prompted to overwrite the existing files, click Overwrite.
Depending on the size of the data you’re transferring, the copying can take several minutes. Once the copy completes, you can start Kodi on the target device and verify that everything installed properly.
Method 2: Using Dropbox
The second method assumes that you’re familiar with Dropbox and have already copied the three folders (addons, media, and userdata) to your Dropbox. This method can be used between devices which are not connected to the same network. They could even be on different continents. All that is required is that both devices have access to the Internet. And it also won’t require playing with the sharing parameters.
- Now, on the Fire TV Stick–or other similar device–with the ES File Explorer app running, click Network from the left-side menu but in this case, click Cloud rather than LAN.
- Then click New at the top right and then choose Dropbox from the available options. You’ll be asked to log into your Dropbox account.
- Once you’re connected to your Dropbox account, navigate to the location of the addon, media, and userdata folders. Then, as explained in the previous section, hold the remote control’s Select button and click each of the three folders.
- Also like we explained before, click the Copy button. Then go back to the Network tab on the left side, click Local and navigate to Android/data/org.xbmc.kodi/files/.kodi/ and finally, click the Paste button. When prompted to overwrite the existing files, click Overwrite.
The time it will take also depends on the size of the data but also your Internet bandwidth. Expect it to take somewhat longer than the direct transfer explained previously.